Setting up your class
-
Download the iClicker Cloud application and install to your computer. Classrooms at York will already have the software installed.
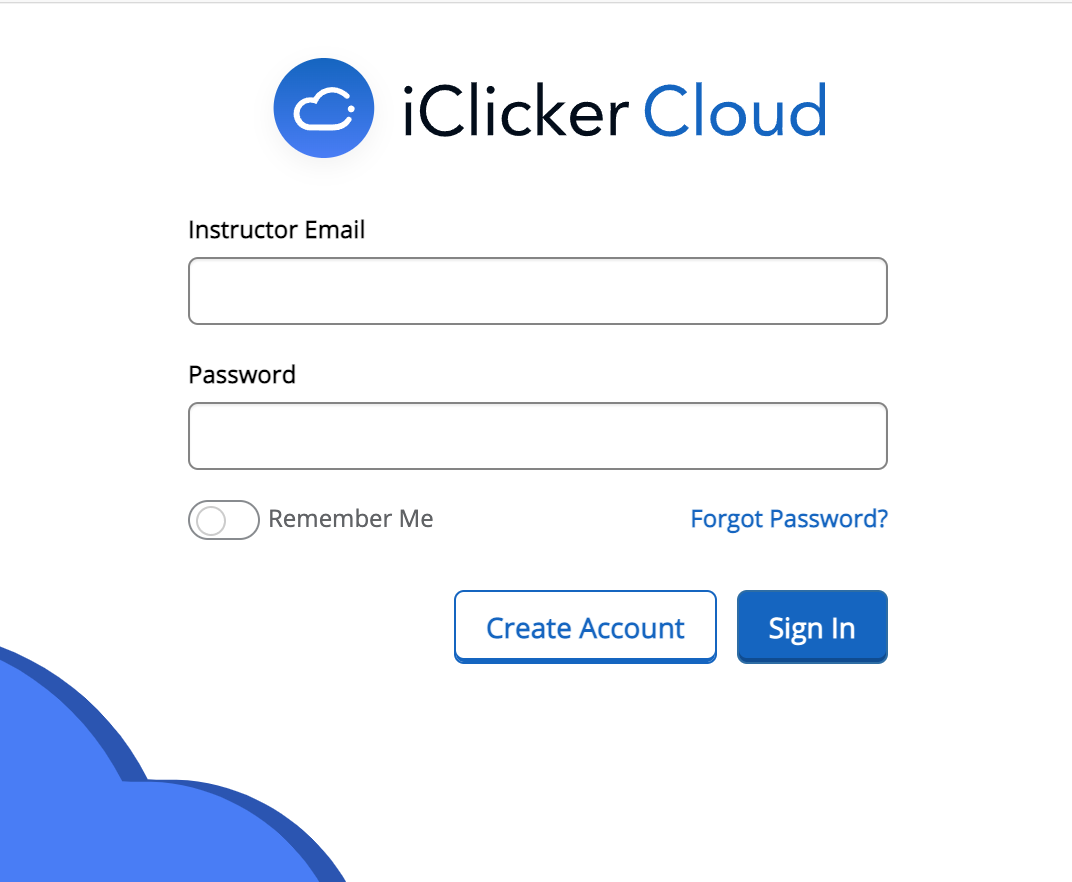
- Launch the iClicker Cloud application. If you already have an account, provide your Email address and Password and proceed to step 6, otherwise click the Create Account button.
- Follow the prompts to provide the information required
- Primary Institution: York University
- Primary Role: Instructor
- Personal information (Name, email,…)
- Review the Privacy Notice and Terms of Use and add a check mark to agree
- Click on Create Account. Your account will be created
- You will be taken to the Courses page.
- Click the blue Create button to and select Course:

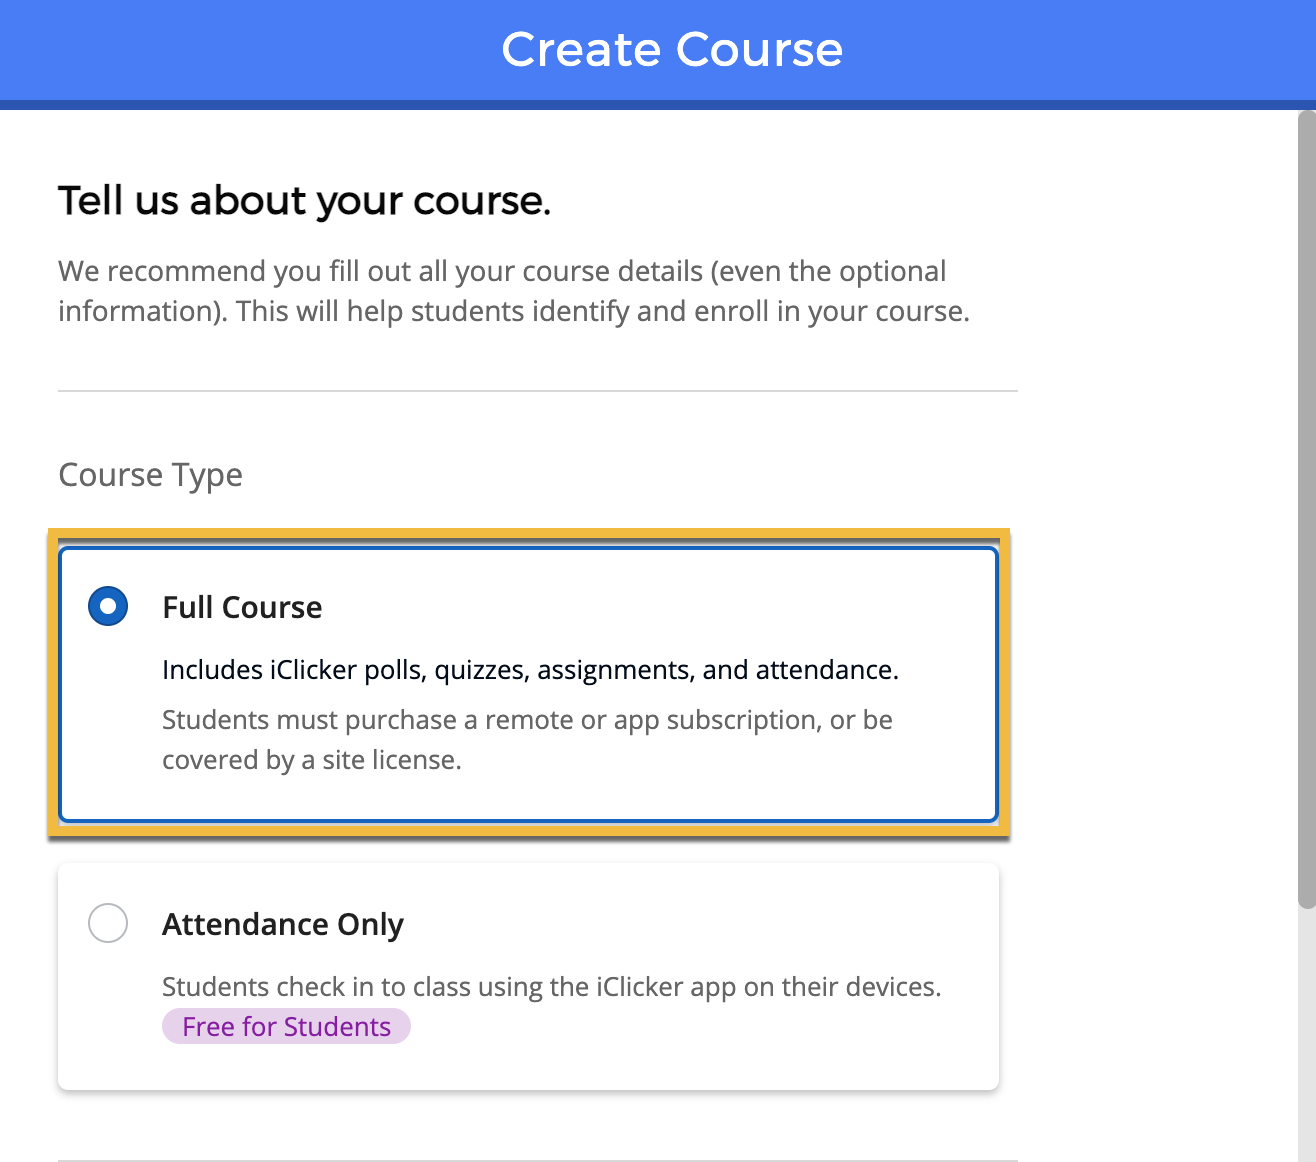
- Select the Full Course option that immediately shows after New Course:
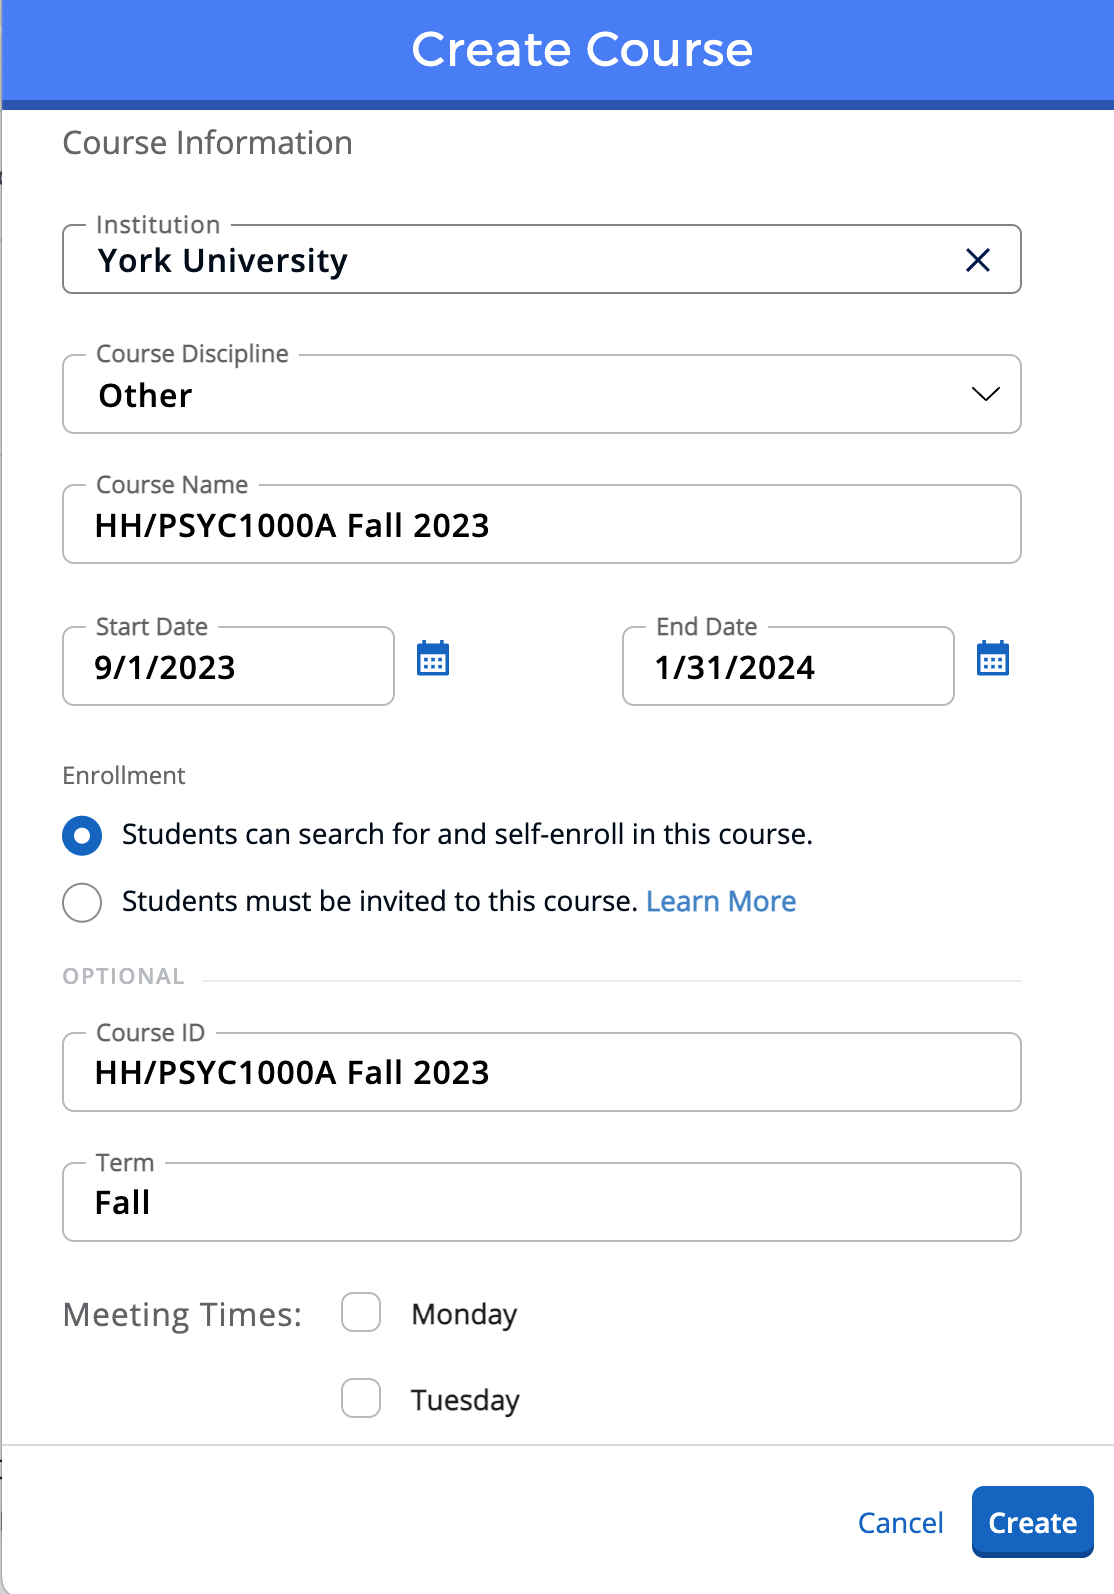
9. Scroll down and enter your York course information to create the course. We recommend using the naming convention below to make it easier for both you and your students to identify the course:
- Course name and Course ID: e.g HH/PSYC1000A Fall 2023
- Start date: 1st day of classes
- End date: Recommended one month after the course end date. Course will be archived on end date.
- Term: e.g Fall 2023
- Meeting Times: Choose the day and time of course (optional)
- Click the Create button
Add iClicker to your eClass Course
Step 1: Set up your iClicker course to use LTI advantage
iClicker Cloud LTI Advantage integration allows you to quickly and easily link students accounts to iClicker and send your iClicker Cloud grade totals to your eClass gradebook.
- Log in to iclicker (https://instructor.iclicker.com/) with your instructor account,
- Navigate to your iClicker Cloud course
- Open the course Settings

- Go to the Integrations tab and set the LTI advantage integration toggle to ON

- Copy the Course ID from the settings. This will be needed when setting up the integration from inside of your eClass course.
Step 2: Set up your eClass course to use iClicker LTI Advantage
Once the iClicker course is set up and you have copied the course url, proceed to your eClass course to add the appropriate learning activity on your course homepage to complete the integration process.
- Login in to your eClass course with your Passport York login and enter the course in which you wish to use iClicker Cloud.
- From More, scroll down to LTI External tools

3. From there, scroll down to iClicker LTI Advantage, and enable the activity under the Show in activity chooser

4. Return to the course main page
5. Turn editing on:

6. At the bottom of the section you wish to add the activity to, press Activity or resource

7. Select or otherwise search for iClicker

8. Double click on the activity, or press Add at the bottom.
9. Click on Select Content button below Preconfigured tool

10 . Paste the Course ID copied from your iClicker course settings in the iClicker Course ID field in the pop up window and click the Create LTI Link button. This preconfigures the tool with default values and closes the pop up window.

Run a Polling Session
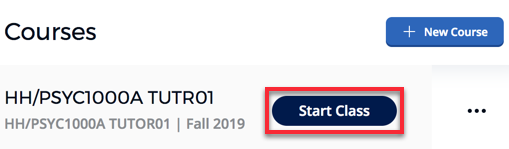
- In your iClicker application, place your mouse to the right of the iClicker course title and click the blue Start Class button.
- The course dashboard is replaced with the collapsible iClicker toolbar, which floats above all other programs on your computer screen.

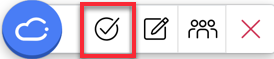
3. Click the polling icon.
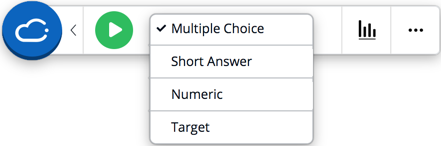
4. Select your question type from the dropdown-menu.
5. Start/Stop polling by clicking the round green/red button on the iClicker Toolbar. You may be prompted to select a screen that will be captured - your question should be available on that screen, as it will appear on the students' devices.

6. A screenshot of your computer desktop is automatically saved to the cloud and sent to student devices when polling starts.
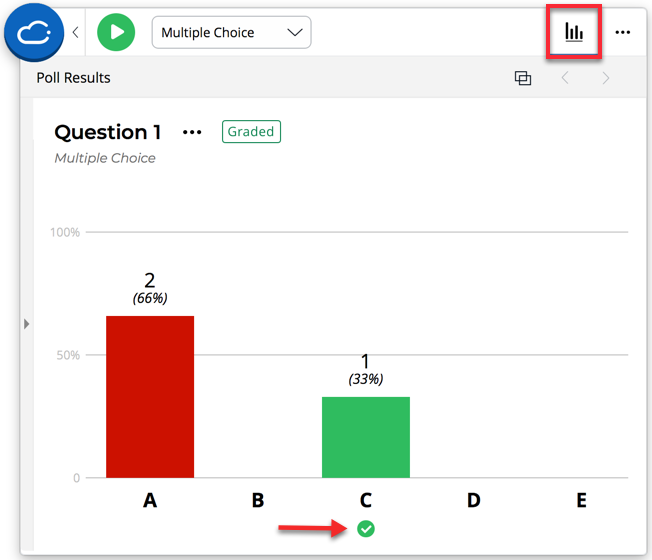
7. Click on the results icon on the iClicker toolbar to show the responses.

8. Click the correct response in the results window. Correct/incorrect feedback is immediately sent to student devices. You can also indicate the correct responses after class. See the section labelled View and Grade after Class.
9. Click the arrow to the right of the cloud icon to return to the main iClicker toolbar.

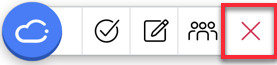
10. Then click the red X icon to end the session and return to the course dashboard.
View and Grade After Class
All of your sessions can be viewed and graded on the iClicker Cloud website instead of immediately during the polling activity.
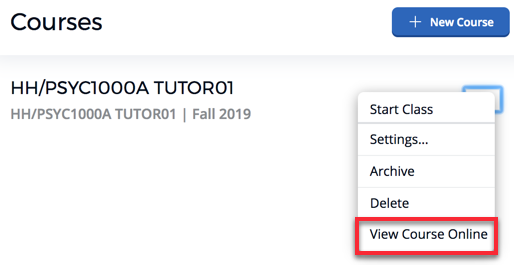
- On your iClicker Course dashboard, click on the dots to the right of the course title and and click View Course Online.
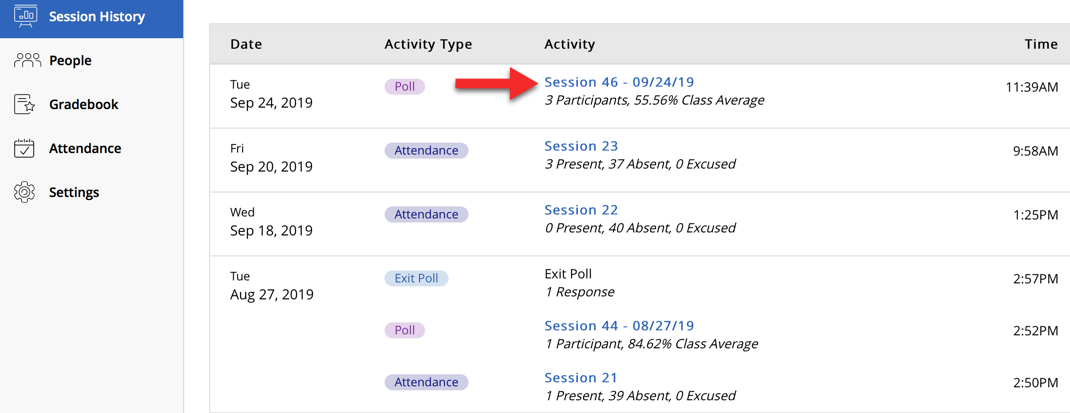
- Click on the Session History link and click on the polling activity you wish to grade.
- Click on a question to grade or make changes.
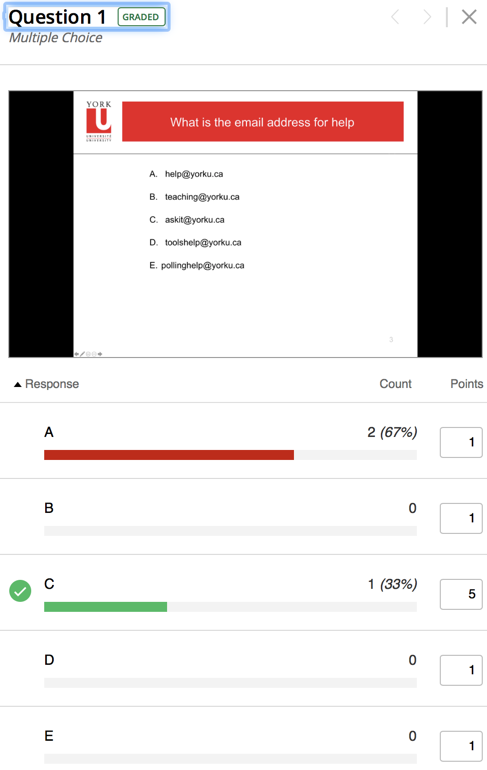
- Click on the Save button.
Export Session Results
- Once a polling session has been graded, it may be exported. From iClicker Web, select the course you want to export from
- Click on Class History

3. You may then Export All Activities from the top right

Or you may click on an individual activity, and using the ellipses on the top right, export the activity:

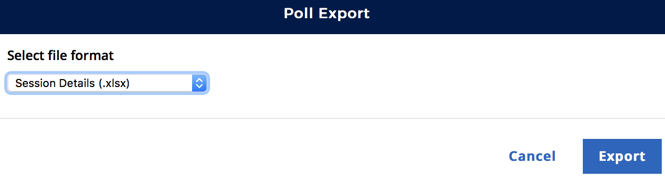
- Click the Select file format drop-down menu and select your preferred filetype and click the Export button. The file is automatically downloaded to your local computer.
Want to experience iClicker Cloud polling as a student?
Students participate in iClicker Cloud polling sessions using a laptop, smart phone, or tablet. You can use your instructor credentials to experience iClicker Cloud polling as a student.
- Go to app.reef-education.com or download the native iOS app from the iTunes App Store or android app from Google Play Store.
- Log in to iClicker Cloud using your instructor account’s email and password.
- Click the + sign to add the course you have previously created.
- Click on York University, type the Course Title to add the course.
- Start a polling session from the instructor software.
- From the mobile app, or the student portal site, join the session when the Join Session button appears.
- Run the polling session from the instructor software, and respond from the student mobile app or the student site