Migrating your videos from Techsmith Relay to Panopto is a two-step process, first you need to download your videos from Techsmith Relay, then you need to upload the videos to Panopto. Please see below for step-by-step instructions on complete the migration process.
Download your videos from Techsmith Relay
- Log into your Techsmith Relay library: https://camtasia.uit.yorku.ca/
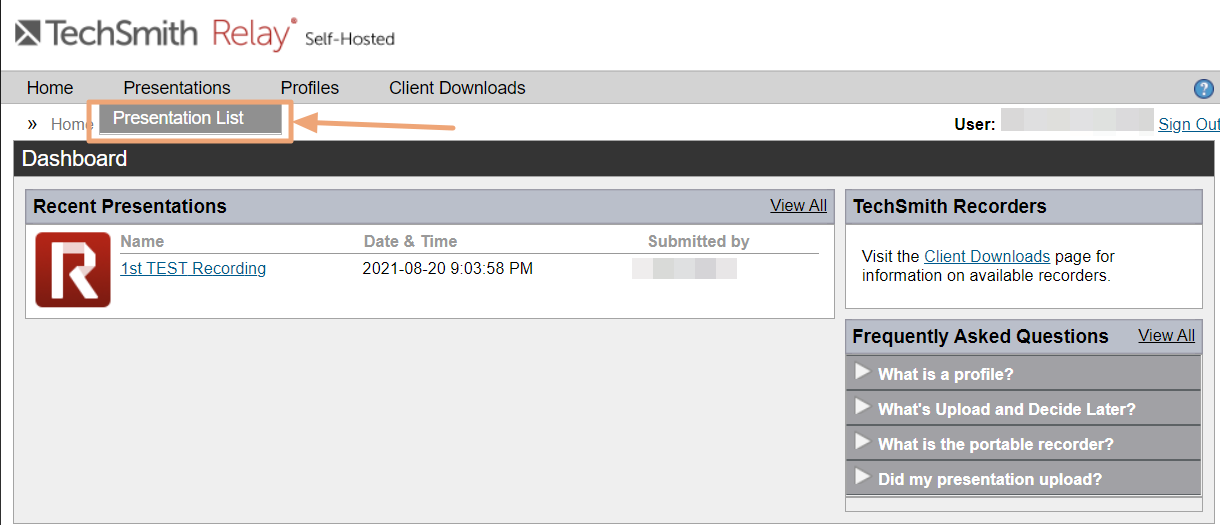
- Click on the Presentations tab
- Select Presentation list from the drop-down menu
- Click View in front of MP4 with Smart Player (720p) for the video you wish to download

- Play the video
- While the video is playing, right-click anywhere on the video and select Save video as... from the drop-down menu
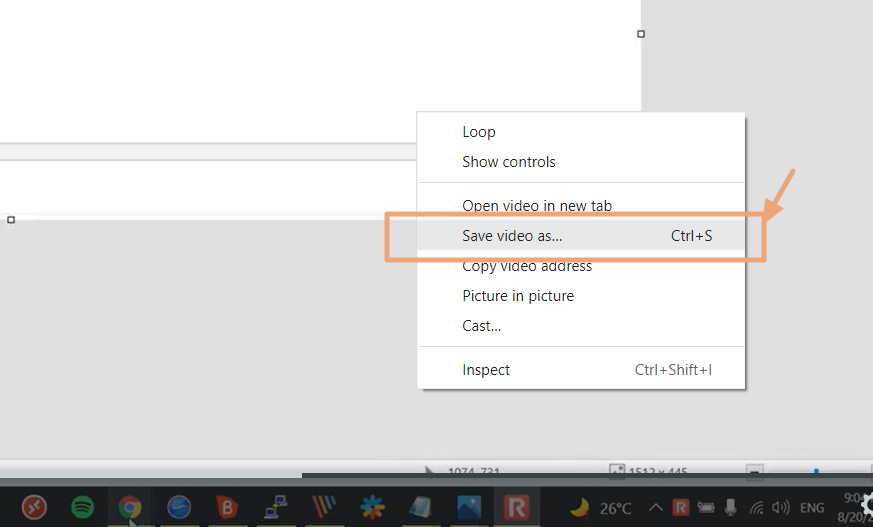
- Save the video to your computer.
There are two possibilities with regards to uploading videos to Panopto:
- To an eClass course to for sharing with enrolled students
- To Panopto's My Folder (for archiving)
Upload to eClass
To share the videos in an eClass course, make sure you have a Panopto block in a provisioned course set up. Log into the eClass course and:
- In the Panopto block, click on Course Settings:

- You will be brought to the Course settings in Panopto - you can look these settings over and/or close the window to gain access to the course's folder
- In the course folder, you may simply drag and drop the videos
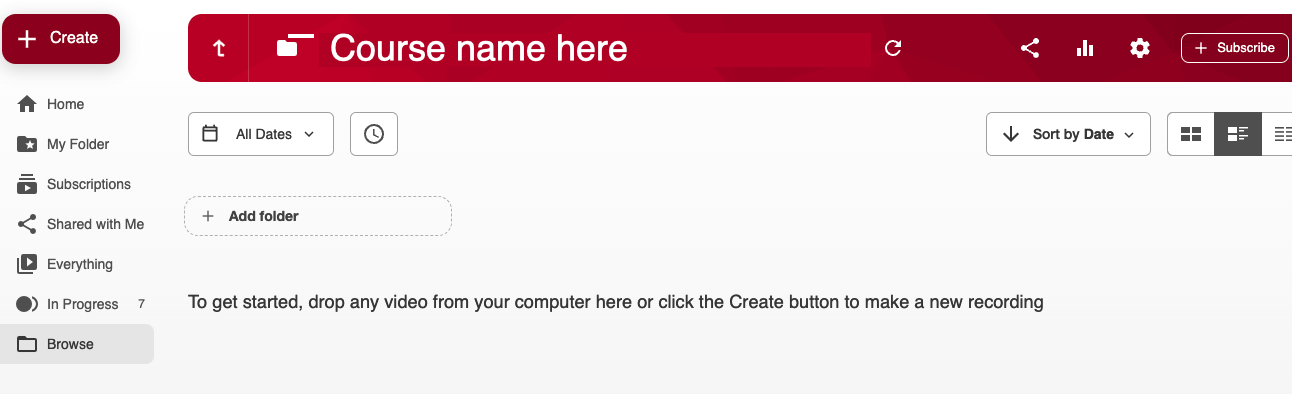
or click on Create and from there, Upload media.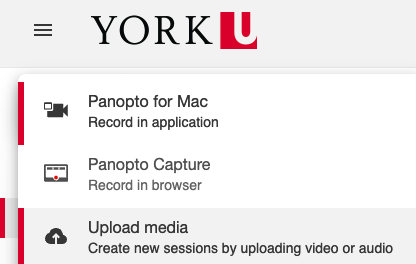
- You will see the video appear in the folder - it may take some time to process.
You will now see the video in the course's Panopto block (you may need to refresh the page). Students will also be able to see any video(s) here: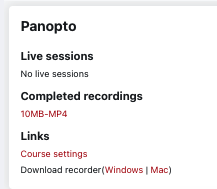
- Repeat this process per video as required.
Upload to My Folder
If you plan on archiving videos or sharing ad hoc, uploading to your My Folder within Panopto is the simplest solution. In order to upload the video to your My Folder:
- Navigate to https://yorku.ca.panopto.com/
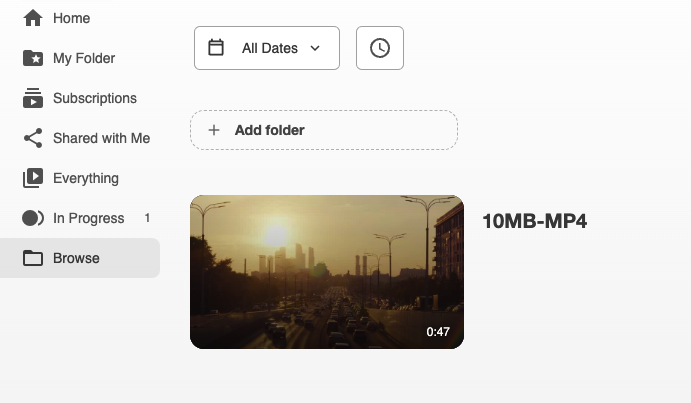
- Click on My Folder on the left pane:

- You may add a subfolder here if you wish to organize your videos.
- You may add a subfolder here if you wish to organize your videos.
- You can either drag and drop your video, or click on Create and then Upload media and select it from your device.
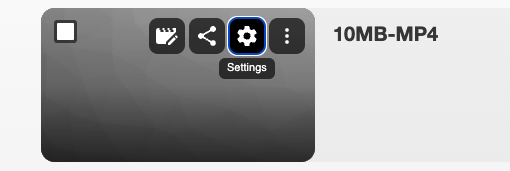
- You will now have access to the videos when you log into Panopto. If you wish to share the video, hover over it and click on Settings:
-
- Click on Share in the lefthand menu. You can add people and groups manually from the top line input text box, or you can click on the blue Change link shown below:
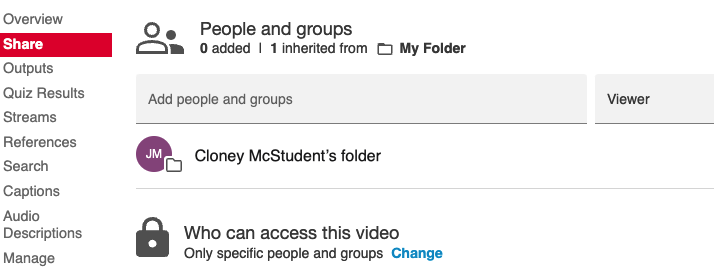
- The default will be Restricted, however if you change it to any of the other two options;

You'll be able to use the Copy Link button to obtain the link: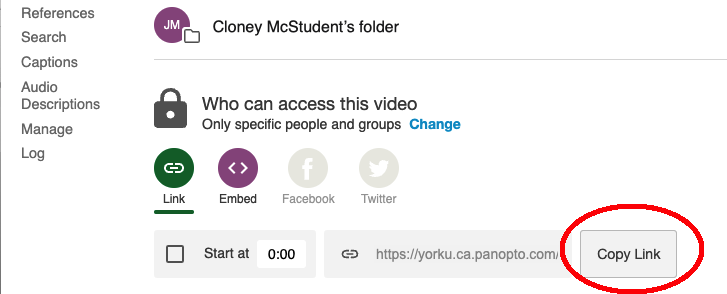
- Finally, send the link to the desired recipients.
-
Additional Resources
Panopto's instructions for uploading can be found here here.