The Choice activity is useful as a poll to allow a class to vote on a direction for the course, gauge course progress, and stimulate thinking about a topic. Depending on the question format, students can choose one or more options when responding. Options are available where results can be displayed anonymously, displayed with detailed information on responses, and displayed with the percentage of responses by students participating in the activity. Instructors can view and download the results.
Adding a Choice Activity to your eClass Course
Follow the steps below to add a Choice to one or more of the sections of the course.
- Enable Edit mode at the top right of the course homepage.

- Click the + add content icon in the section where you would like the activity to appear and select Activity or resource from the content options.

- In the Add an activity or resource pop-up menu, double-click the Choice activity tab (or select the activity and then click the red Add button at the bottom right of the pop-up menu.

Configuring Choice
- On the Choice activity configuration page, click Expand all to expand each of the sections and reveal the options.

General
- Enter the title of your activity in the Choice name field. This name will appear as a link to access the Choice activity on the course main page.
- Enter the question in the Description field.
The box can be expanded by clicking and dragging the bottom right corner outwards. To make more editing options available, click the ellipsis button to expand the toolbar.
- Click on the drop-down menu for the Display mode for the options field and Choose whether to display the results vertically or horizontally. If you have a large number of choices, it is recommended to select the vertical display.

Options
-
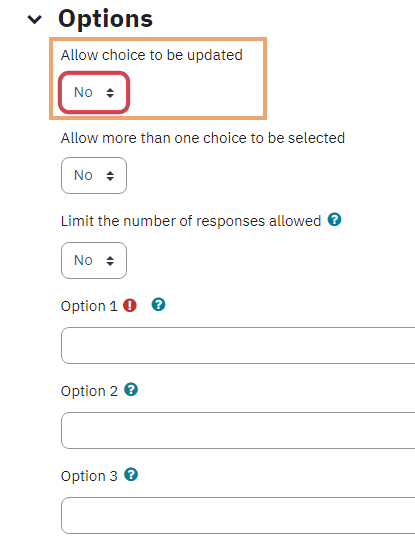
Allow choice to be updated determines whether students can change their response.
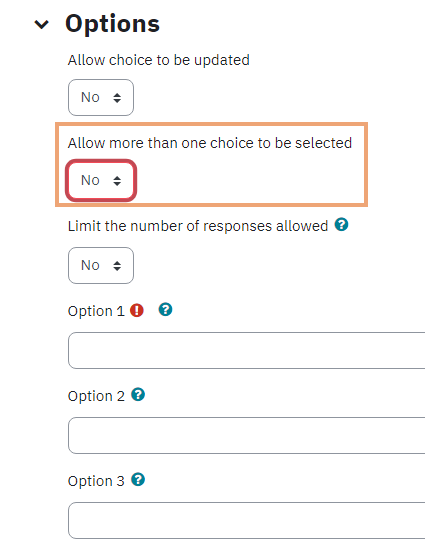
- Allow more than one choice to be selected; if enabled, students are alerted that more than one selection is allowed.
-
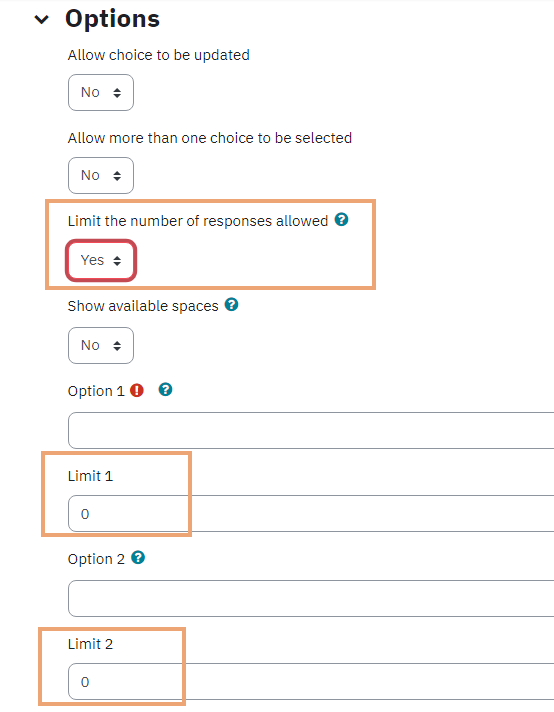
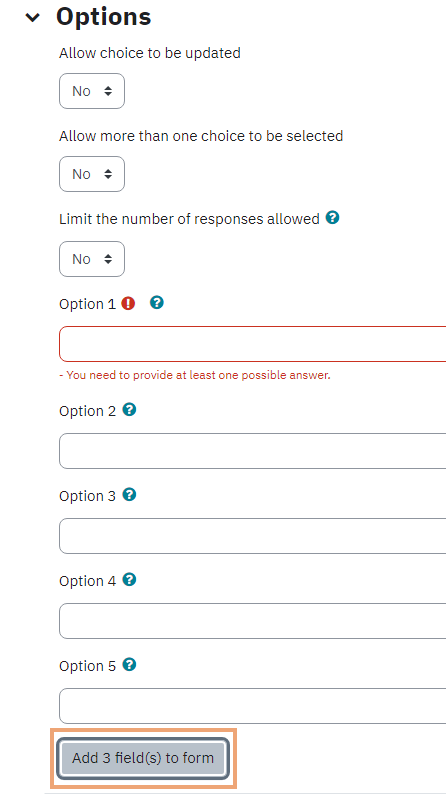
Limit the number of responses allowed; if enabled, you are restricting the number of participants for each choice option. Enter the limit for each of the options---once that number of participants has selected that option, other participants will not be able to select it. If the activity is separated by groups, then the limit is by group (e.g., if 3 participants can select Option 1, that's 3 participants per group).
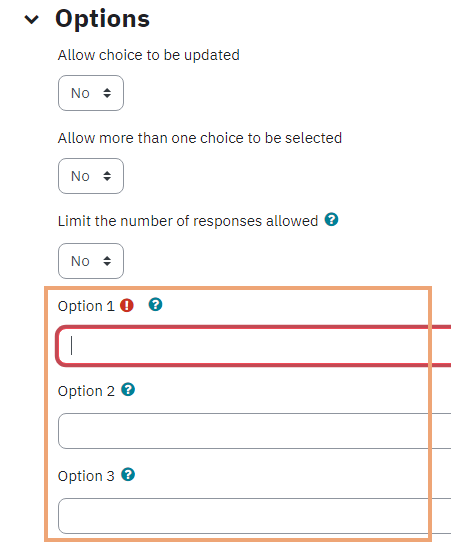
- Enter the Options in the corresponding boxes, as shown below:
- In order to add more fields (as needed), click Add 3 field(s) to form, as shown below:
Availability
- Select Enable for Allow responses from in order to enable the start date (when students can make their choice within the activity), then go ahead and set the date, as shown below:

-
Select Enable for Allow responses until in order to enable an end date for accepting choices, then go ahead and set the date, as shown below:

- Click Show preview if you want to allow students to view the question and options in advance of the release of the choice activity.

Results
-
Publish results allows you to configure how you would like the poll results to be published to students. There are four options that you can select from the drop-down menu. Please see below:

- Show column for unanswered: if set to yes, you will see a dedicated column of students who have not answered the poll yet. The column will be titled Not answered yet
- Include responses from inactive/suspended users allows you to include responses from inactive and suspended users

After you are done with the configuration of your Choice activity, click Save and return to course or Save and display at the bottom of the page in order to save the configured Choice activity.
Viewing Choice Results
- From the course home page, click the choice activity.
- In the course navigation bar click Responses.

- At the bottom of the page, you have the option to download the results in a variety of file formats( Ms-Excel, Text, Open Office). Click on the preferred file format and save to your local machine, as you can see on the screenshot below.
