The Feedback activity allows you to create evaluations, surveys, or questionnaires within your eClass course. Unlike the Survey activity, which is pre-populated with questions, the Feedback activity allows you to create your own questions. It is suitable for informal evaluations within the course and/or non-graded feedback. The results of the Feedback can be viewed in detail or as a graph with an overall summary.
Adding a Feedback Activity to Your Course
Follow the steps below to add the Feedback activity to one or more of the sections of the course.
- Enable Edit mode at the top right of the course home page.

- Click the + add content icon and select Activity or resource in the section where you would like the feedback survey to be listed.

- Select Feedback in the pop-up menu, and then click the Add button at the bottom right. The Feedback settings page appears.

Configuring a Feedback Activity
Click Expand all to expand each of the sections and reveal the options.
General
- Enter a title in the Name (1) field. This name will appear as a link to access the Feedback Activity on the course main page.
- Enter a brief description about the purpose in the Description (2) text box.
The box can be expanded by clicking and dragging the bottom right corner outwards. To make more editing options available, click the ellipsis button to expand the toolbar.
- Place a check-mark next to Display description on course page (3) check-box to make it visible on the course home page. The description will display directly below the activity link and on the Feedback activity's page.

Availability
Availability indicates when users can participate in the Feedback activity. If dates are not required, students will be able to submit feedback once the Feedback activity has been created and remains available. To specify availability dates for the Feedback activity:
- Place a check mark in the Enable check box(es) next to Allow answers from/to drop-downs as required to enable availability.
- Select the date(s) and time(s) to make the Feedback available from the Allow answers from/to drop-down lists as required.

Questions and Submissions Settings
Choose the relevant options from the Question and submission settings section.
-
Record user names: Select anonymous if you would like the users' names to be hidden, or select Users's name will be logged and shown with answers to have names displayed with results.
-
Allow multiple submissions: If you selected Anonymous in record user names above, then selecting Yes here allows users to take the Feedback survey multiple times, and each submission will be included in the results.
If you selected User's name will be logged and shown with answers in record user names above, then selecting Yes here allows users to resubmit the Feedback, and only the most recent submission is included in the results.
Selecting No will limit all users to one submission.
-
Enable notification of submissions: Select Yes option for an instructor to receive an e-mail notification each time a course participant completes the feedback.
-
Auto number questions : select Yes from the drop-down menu. Each question will have a number indicating how many questions to complete the Feedback activity.

After Submission
- Select Yes (1) from the Show analysis page to allow participants to see the results analysis with data only. Students can access the "Submitted Answers" through a link on the Feedback Activity page.
- Type a message in the Completion message (2) window to present to participants after completion of the activity.
- If you want participants to be directed to another Web page after completion, enter the URL in the Link to next activity (3) field. You can enter the course homepage URL, to help users navigate the course.

Common Module Settings
Establishing groups in a course is a separate process from that of creating activities groups will work with. Once groups have been configured in a course, they then need to be set for use on particular course activities, such as Assignments.
Select the appropriate group setting from the the Common module settings if groups have been configured in your course. Refer to the Creating Group Activities training page for setting up groups
Restrict Access
Restrict access options allow you to set restrictions on an activity or resource by date & time or by conditions related to previous activities.
Set conditions for activity completion as required. Refer to the Restricting access to resource and activity training page for setting up restriction criteria.
Scroll down and click Save and display to add the activity and begin adding questions. You will be redirected to the Feedback settings page.
If you choose to Save and return to course, the Feedback activity will be created and a link will appear on the course homepage. If you plan to add questions later rather than at the time of creation, you may want to hide the link to avoid user confusion.
Adding Questions to the Feedback activity
To add questions to your Feedback activity, follow the steps below:
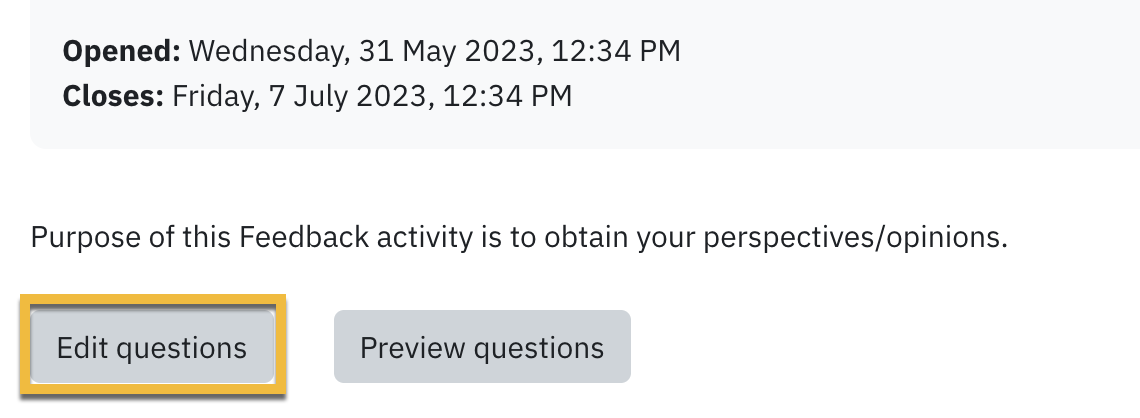
- Click the Feedback activity from the course homepage and click the Edit questions button.

- Select the type of question you wish to add from the Add question drop-down menu. The setup page for the question type will open automatically.

The first four options relate to the formatting of the questions.
-
Add a page break: This option will put the following question on a new page.
-
Captcha: This option inserts a question to make sure a real person is filling in the form and not an automatic spamming program of some sort. The student will be asked to type some distorted text displayed in a box.
-
Information: This option provides information to the teacher only about the survey. You can choose to display one of three types of information: the time of responding, the course or the category where the feedback is located. The information will be generated automatically, and the students will not see any information related to this item.
- Label: This option inserts a standard Moodle label, which allows you to add text between questions allowing for extra explanation or to divide the Feedback into sections.
Multiple Choice question
- Enter or select the appropriate question setting in the question settings’ page. The following illustration relates to multiple choice type questions but similar options are available for the other types.
- Place a check-mark next to the Required checkbox if you want to make a response mandatory.
- Enter the question text in the Question field.
- Enter a label for the question. This label is only for the instructor to make it easier to identify questions and use to select dependencies (below). Students do not see labels within questions.
- For Multiple choice type field, click on the drop-down menu to select (single answer, multiple answers, or single answer allowed-drop-down menu).
- In the Adjustment menu, select whether the response values should be displayed vertically or horizontally.
- In the Hide the ‘Not selected’ option field, select “No” if you want ‘not selected’ to be a choice for the students.
- In the Omit empty submits in analysis field, select if you want optional questions that were not answered to be added to the results analysis.
- In the Multiple choice values field: Use one line for each answer and enter the answer choices. Start a new line for each answer choice.
-
Position controls the order of the questions. Position 1 is the question nearest the top of the page, so when you create or edit a question, you can choose from the drop-down of available positions (which will vary depending on how many other questions there are). You can also rearrange questions by clicking the position up and down arrows on the main add questions screen.
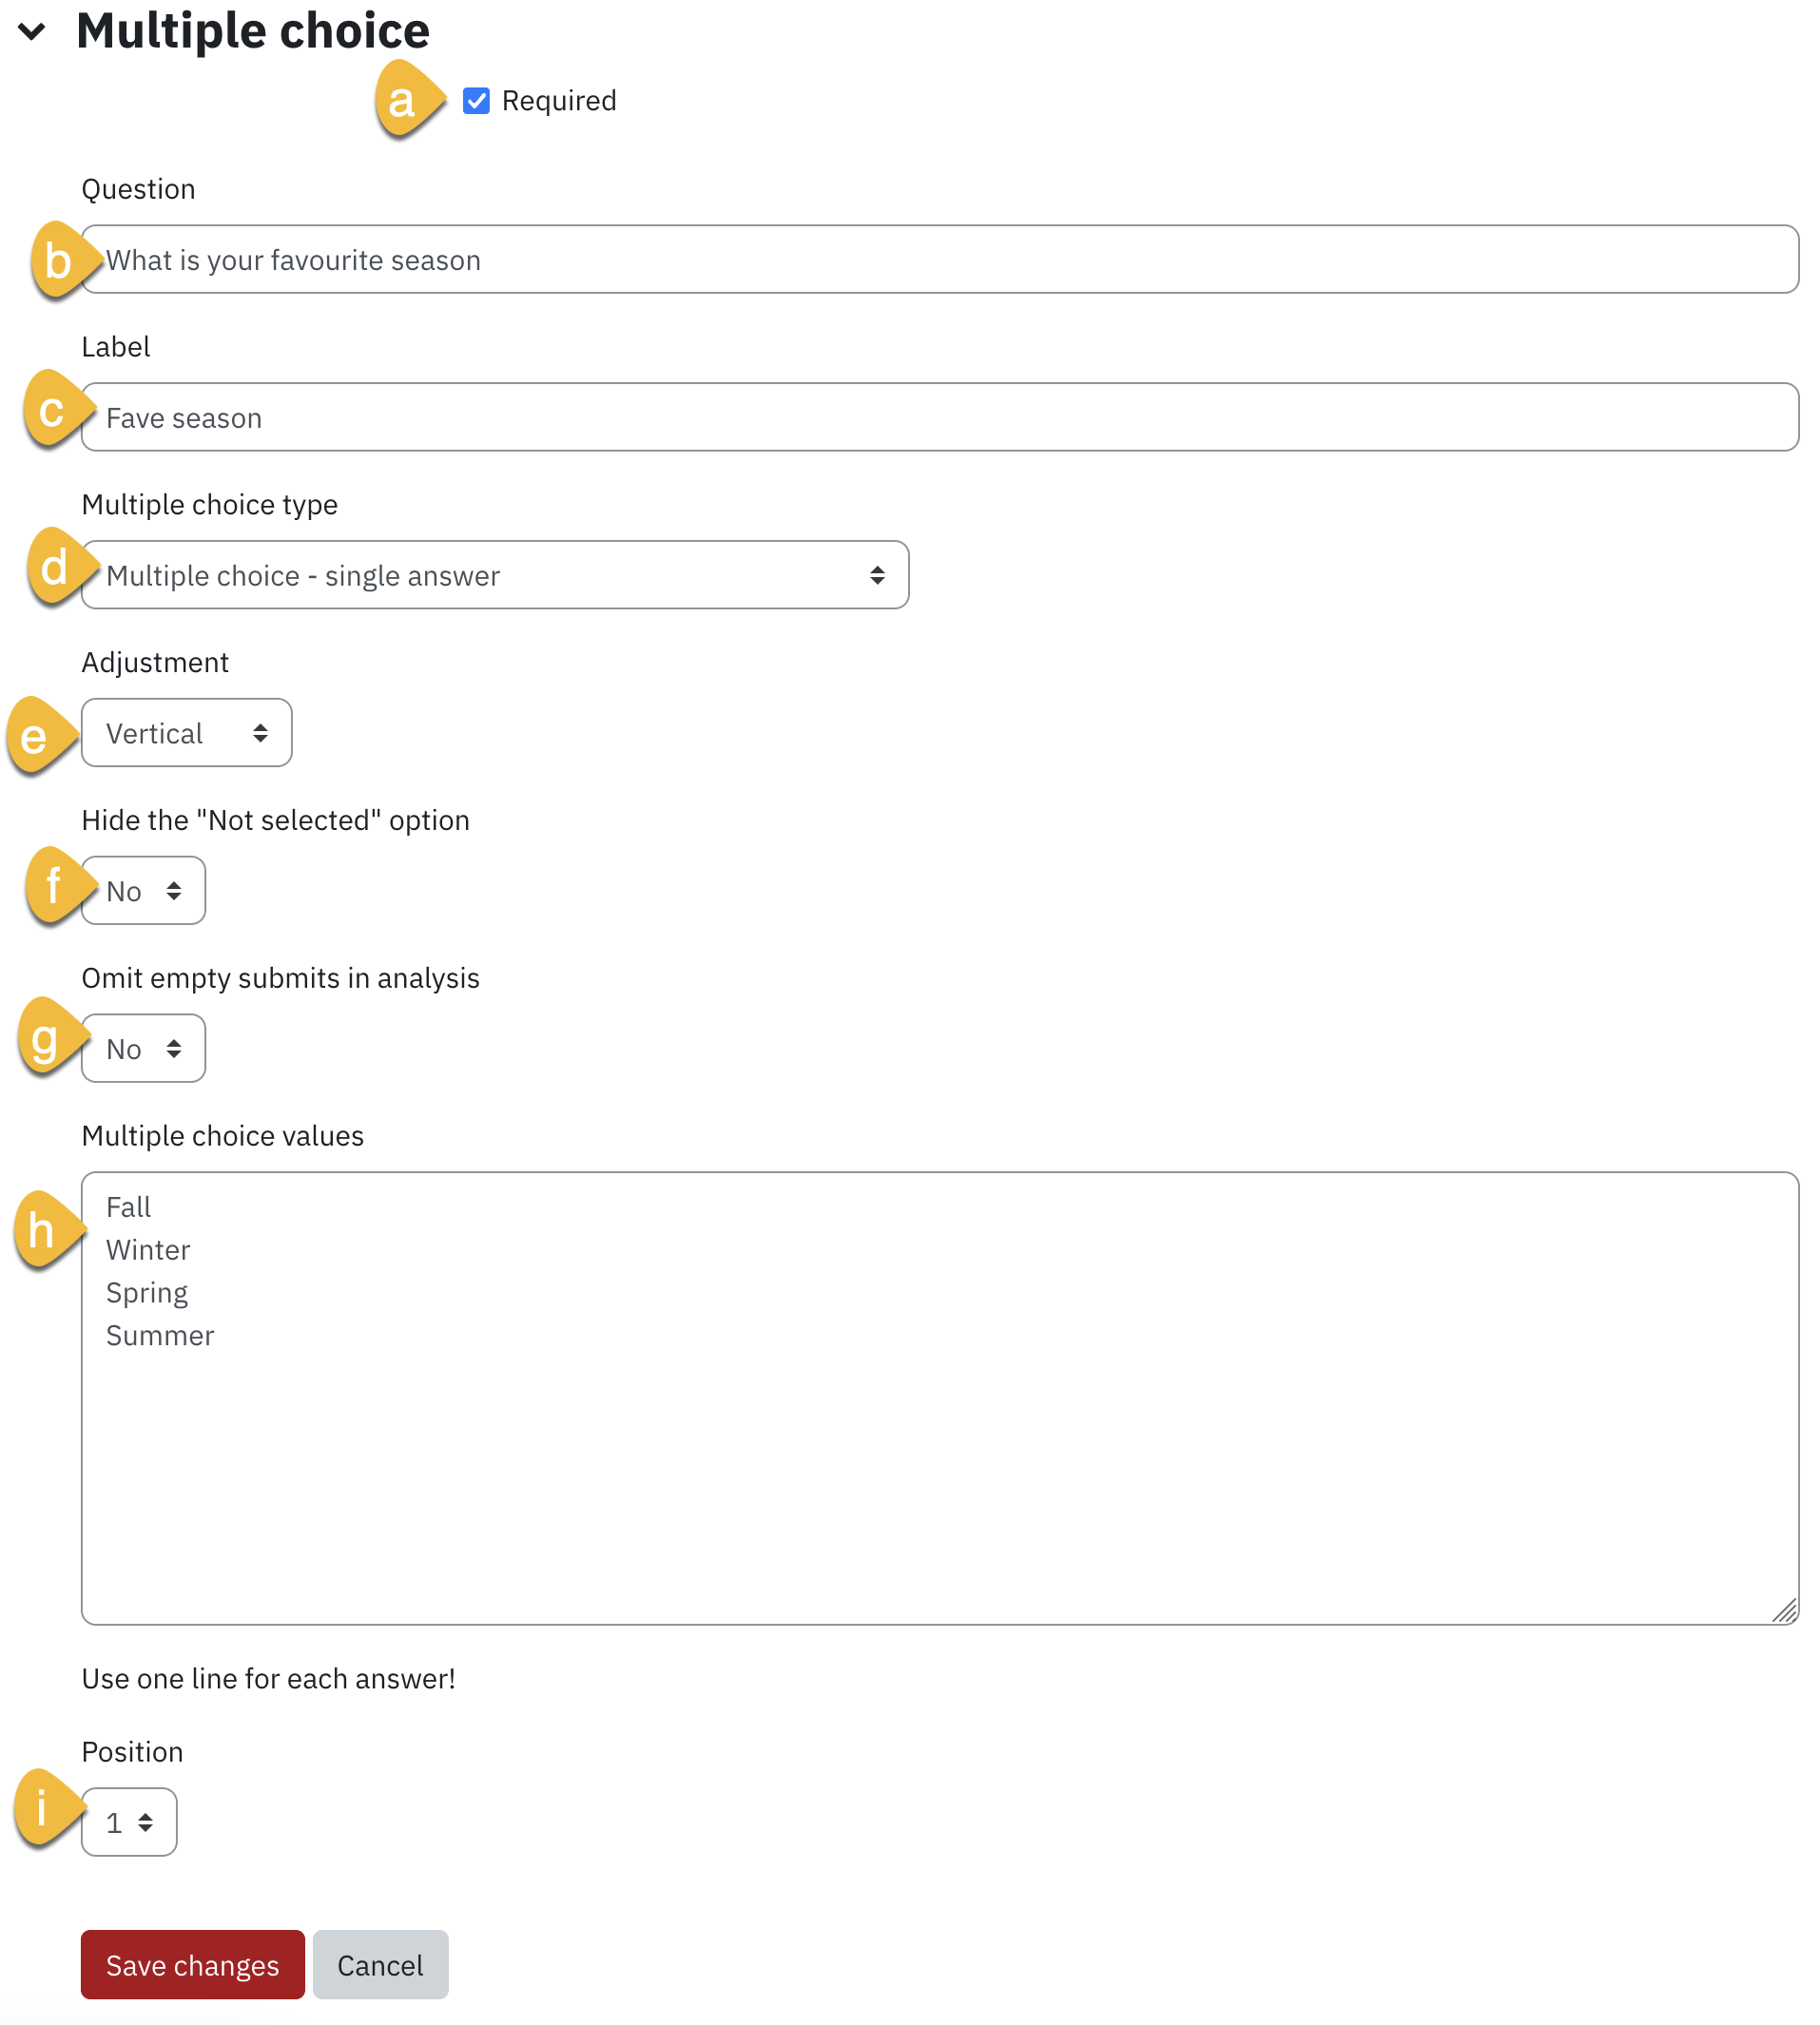
- Place a check-mark next to the Required checkbox if you want to make a response mandatory.
- Click Save changes to add the question to the activity.
- Click the Edit Questions page displays with a preview of existing questions and provides the option of adding more. Using the Edit button to the right of each question, you can edit, move and delete each on the drop-down menu.
Numeric answer question
- Enter or select the appropriate question setting in the question settings’ page. The following illustration relates to numeric answer questions but similar options are available for the other types.
- Place a check-mark next to the Required checkbox if you want to make the answer mandatory.
- Enter the question text in the Question field.
- Enter a label for the question. This label is only for the instructor to make it easier to identify questions and use to select dependencies (below). Students do not see labels for questions.
- For Range from select the minimum option
- For Range to select the maximum option
- For the Dependence item, select the label of the question upon which the current question is dependent upon. Dependencies are optional and can only be based upon questions that are asked before the question that is currently being added, and they must be separated by a page break.
-
Position controls the order of the questions. Position 1 is the question nearest the top of the page, so when you create or edit a question, you can choose from the drop-down of available positions (which will vary depending on how many other questions there are). You can also rearrange questions by clicking the position up and down arrows on the main add questions screen.
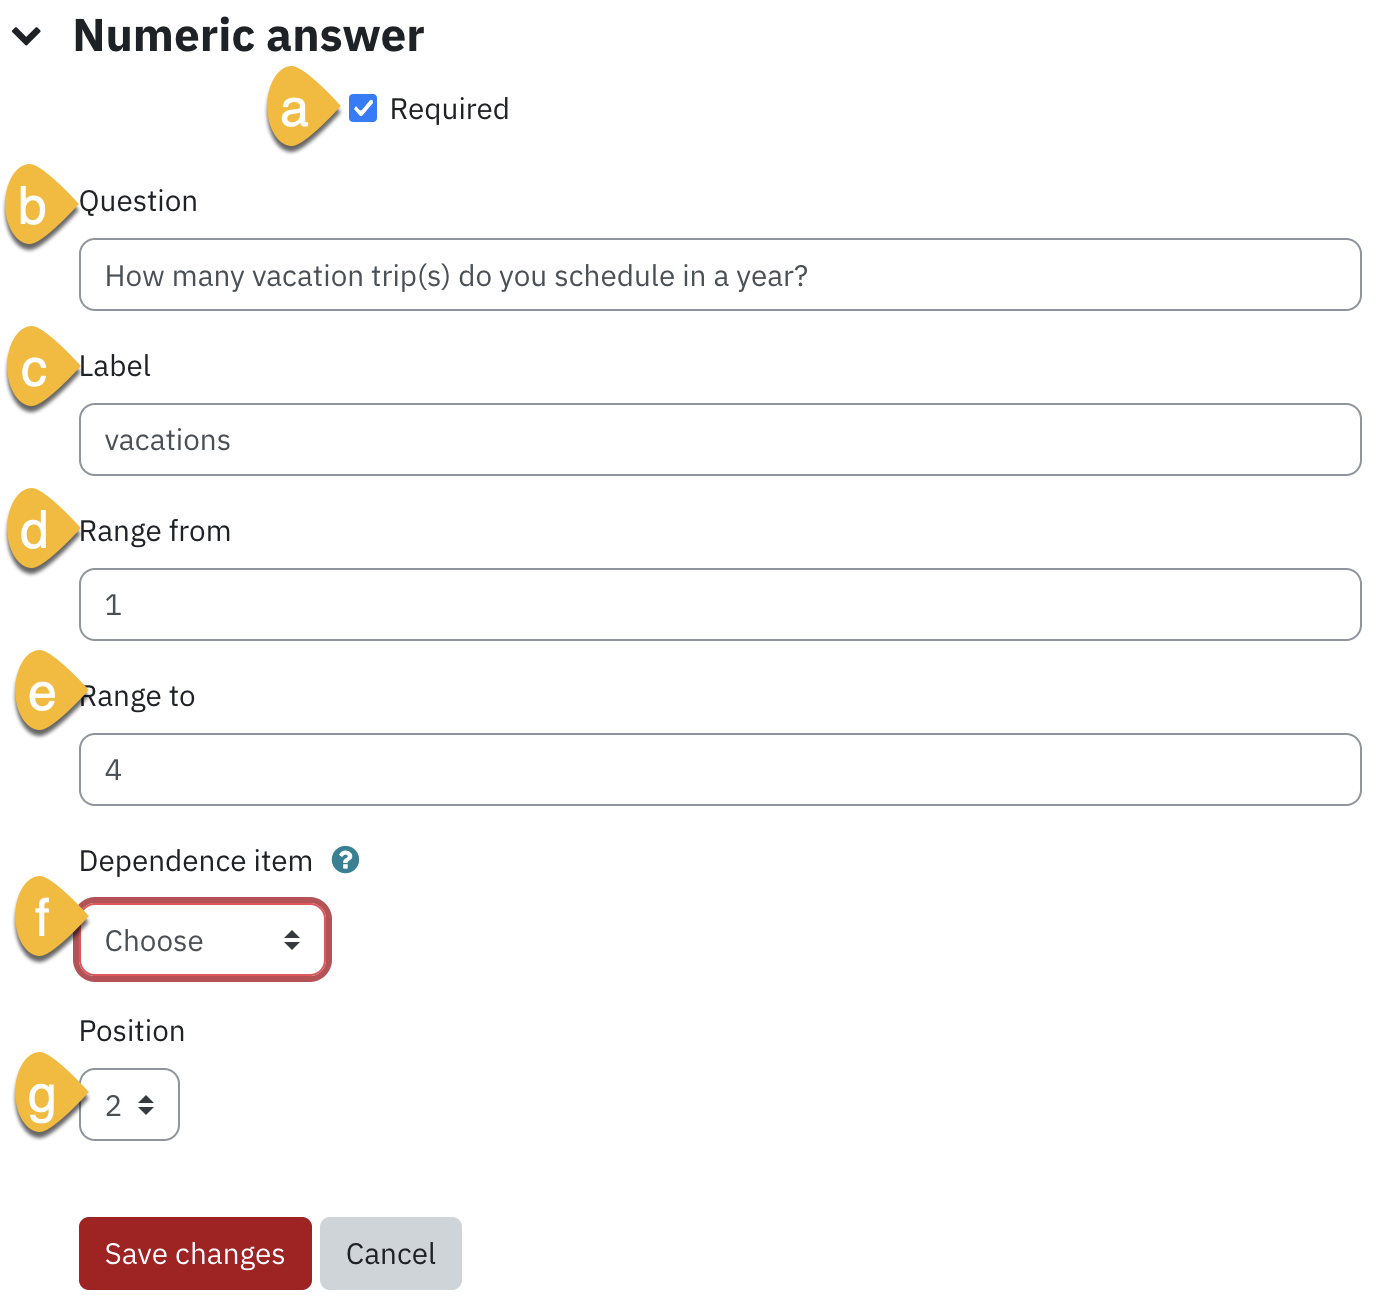
- Place a check-mark next to the Required checkbox if you want to make the answer mandatory.
- Click Save changes to add the question to the activity.
- Click the Edit Questions page displays with a preview of existing questions and provides the option of adding more. Using the Edit button to the right of each question, you can edit, move and delete each on the drop-down menu.
Short text answer question
- Enter or select the appropriate question setting in the question settings’ page. The following illustration relates to short text answer questions but similar options are available for the other types.
- Place a check-mark next to the Required checkbox if you want to make the answer mandatory.
- Enter the question text in the Question field.
- Enter a label for the question. This label is only for the instructor to make it easier to identify questions and use to select dependencies (below). Students do not see labels for questions.
- For Textfield width field, choose your preference from the drop-down menu.
- For Maximum characters accepted field, enter your preferred number.
- For the Dependence item, select the label of the question upon which the current question is dependent upon. Dependencies are optional and can only be based upon questions that are asked before the question that is currently being added, and they must be separated by a page break.
- For the Dependency Value field, the value must match exactly for the question to be displayed to students.
-
Position controls the order of the questions. Position 1 is the question nearest the top of the page, so when you create or edit a question, you can choose from the drop-down of available positions (which will vary depending on how many other questions there are). You can also rearrange questions by clicking the position up and down arrows on the main add questions screen.
- Place a check-mark next to the Required checkbox if you want to make the answer mandatory.

- Click Save changes to add the question to the activity.
- Click the Edit Questions page displays with a preview of existing questions and provides the option of adding more. Using the Edit button to the right of each question, you can edit, move and delete each on the drop-down menu.
Repeat steps 1-3 to add additional questions to the Feedback activity.
You can save sets of questions as Templates to make them available for other Feedback activities within the same course or other courses.
Analyzing and Exporting Feedback Results
- Click the title of the Feedback activity from the course home page.
- Click on more in the top row, and select Responses from the drop-down menu. Individual responses are displayed if you have enabled the option of seeing each participant’s name in the evaluation.

- From the response page, you have the option to Download the file to MS-Excel to generate more reports.

- From the response page, click on more in the top row and select Analysis to view the aggregated data of each evaluation choice.

- From the name Analysis page, you can also Export to Excel.
