Learn the steps needed to customize your dashboard to make it look and feel exactly how you want.
By now you will have noticed eClass has a new look - This has changed the dashboard and added some new features like the timeline and calendar.
However, you can still customize the dashboard to suit your preferences. This guide will walk you through the simple steps to do this.
The default Dashboard
The default dashboard view showcases a timeline section, list of recently accessed courses, and a calendar of eClass events and due dates.
The first section you'll see is a timeline of the activities you need to complete across all your courses so you can stay on track. You can sort this list by dates and activity status, if it is due, overdue, etc. If you don't see this block it means you've modified your dashboard, we'll show you later in this article how to add the timeline to your dashboard.
Below you will see your recently accessed courses. To enter a course click on the title.
Finally, at the bottom of the page, you will see a calendar of your upcoming activities on eClass. You can add your own events to the calendar by clicking on the red New event button on the top right.
How to customize the dashboard
If you'd like to change up the look of your dashboard, you can do so by following these steps. Click the Dashboard text on the top of the eclass site.
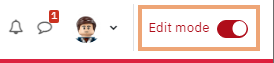
Once on your dashboard, you can click the Edit mode toggle on the top right of the page near your profile picture.
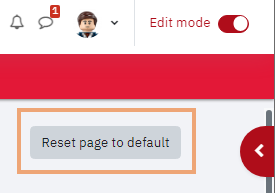
In edit mode, you can choose to revert to the default dashboard layout by clicking the grey Reset page to default button.
To delete a block from your page, click the ellipses (…) beside the block. Then from the drop down menu, click the Delete option.
If you'd like to add a block to your page. Click the red Add a block button.
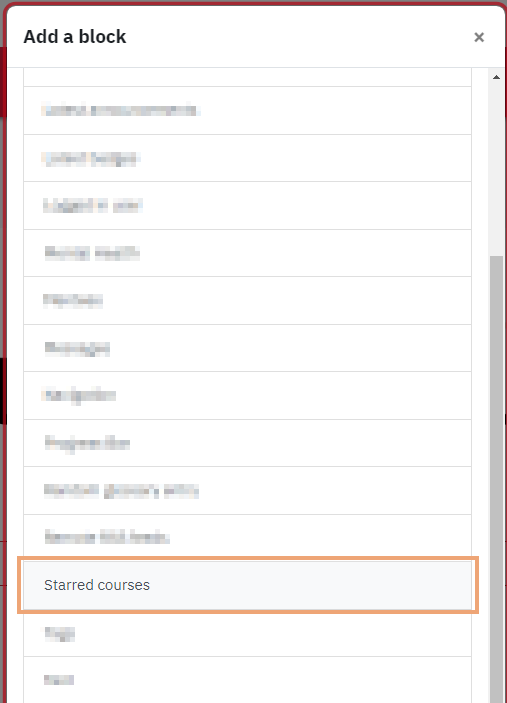
Then in the pop up menu, choose the block your prefer. In this example we will use the Starred courses block. This block will show your starred courses more easily for you to access, you can star your courses by visiting the My courses page on eClass.
Once on the Add a block list you may need to scroll down as the list is in alphabetical order.
The block will now appear on your Dashboard. You can move a block by clicking and dragging the black cross arrows on the top right corner of the block.
You can add, remove, or move any block on your dashboard to adjust it to your needs!
Tell us how we can make this article better for you?