If it is your first time using this service, you need to log into York's Zoom website at least once. Sign in with your PassPort York (PPY) credentials. After this, you will be able to add a Zoom meeting in eClass. If you get an error, contact UIT at askit@yorku.ca.
How to add Zoom in eClass
1. Enter your course in eClass and turn Edit mode on.

2. Click on Add an activity or resource within the topic you want to add your Zoom meeting in.
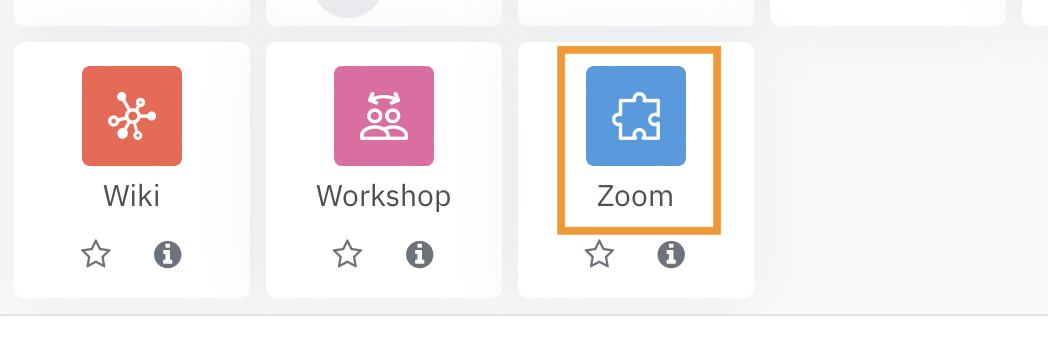
3. Click Zoom from the available activities to open the configuration page.
4. Enter a name for the activity(A), e.g Zoom Meetings, and click Save and Display (B). 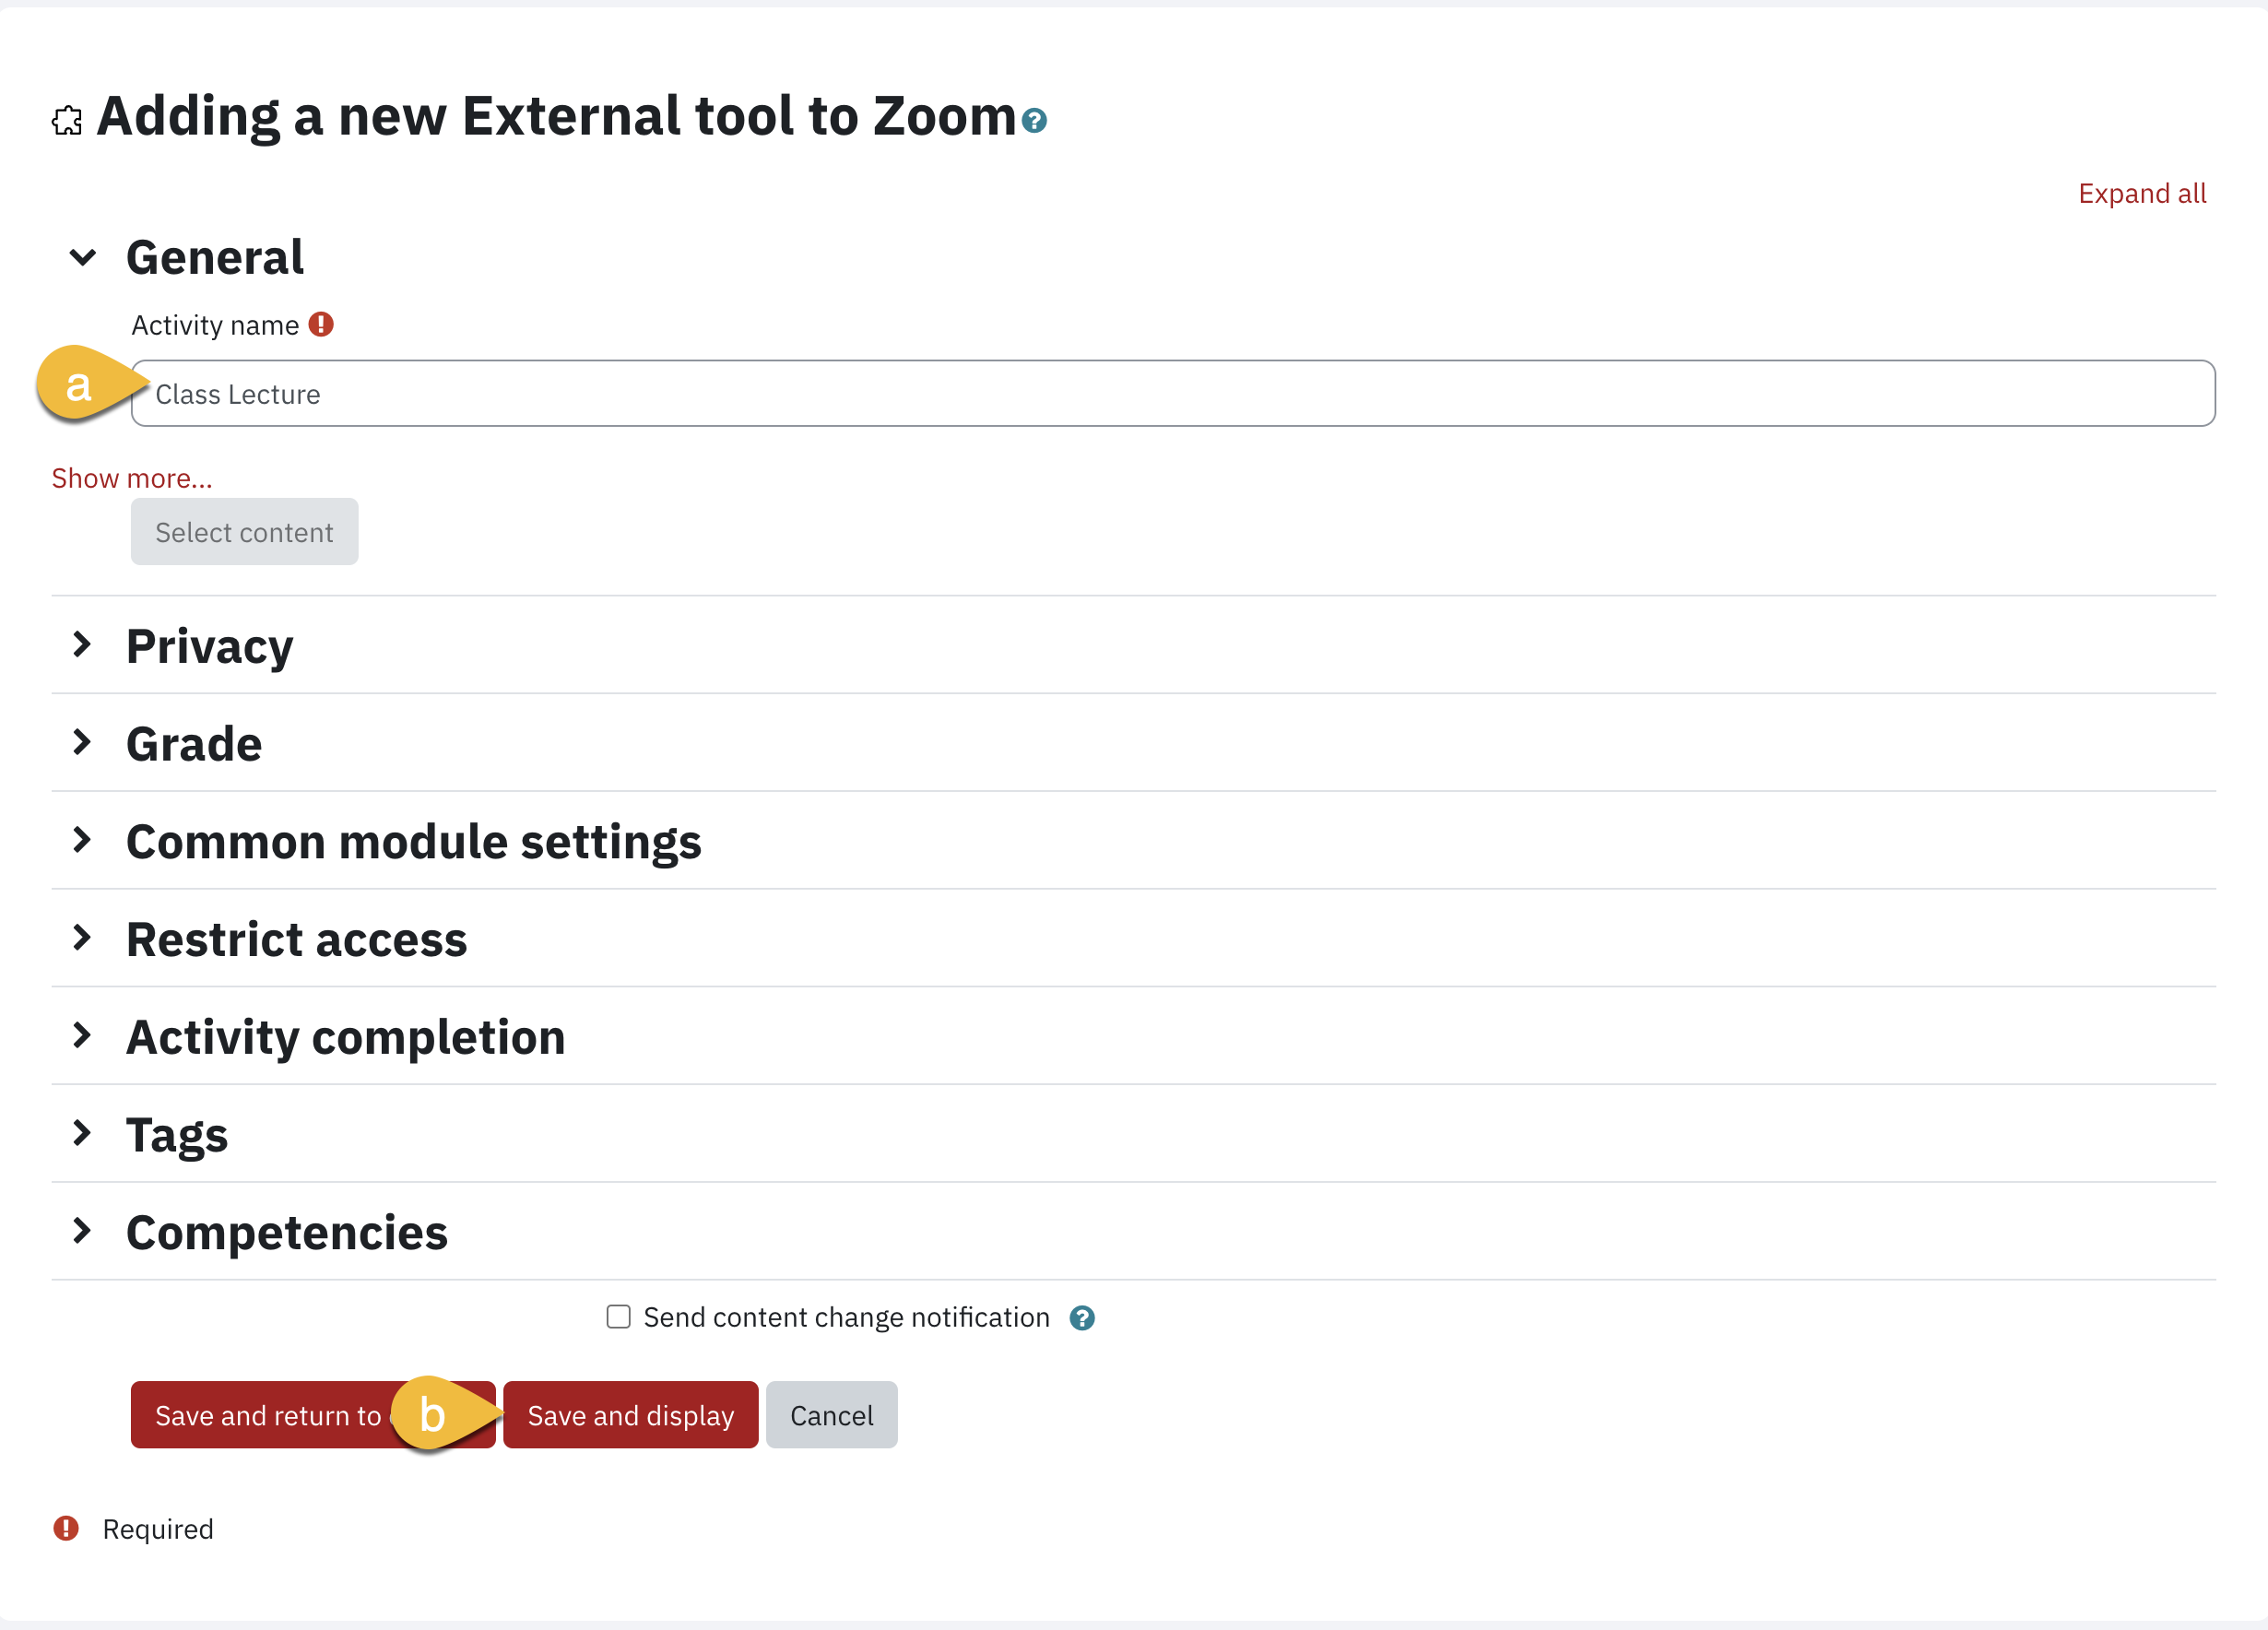
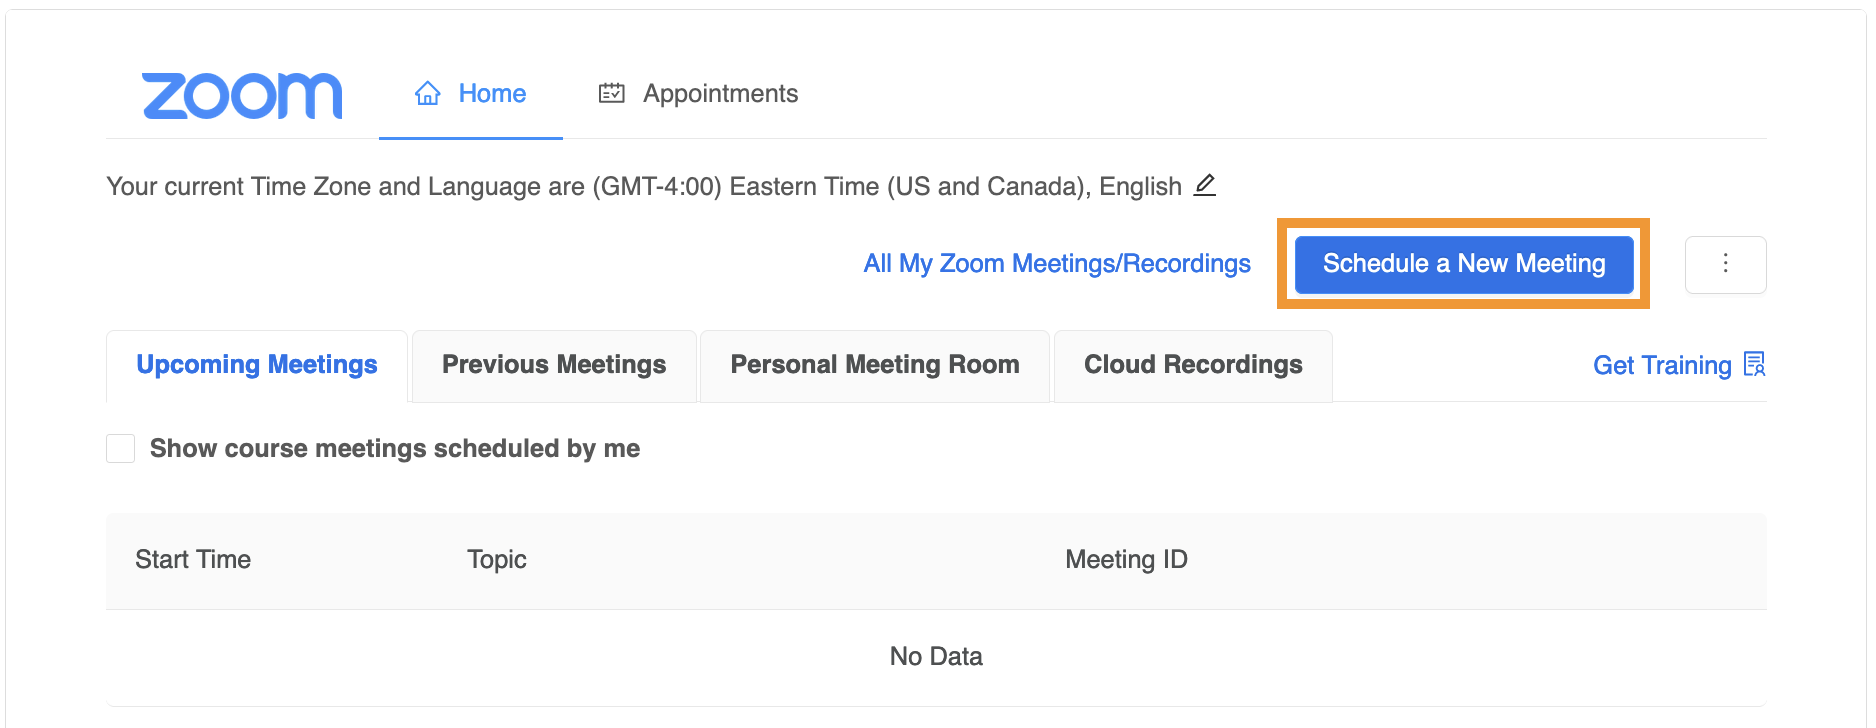
5. Select Schedule a New Meeting
6. From the settings page, enter the details for your Zoom meeting, and determine if it is a recurring meeting or a one off. 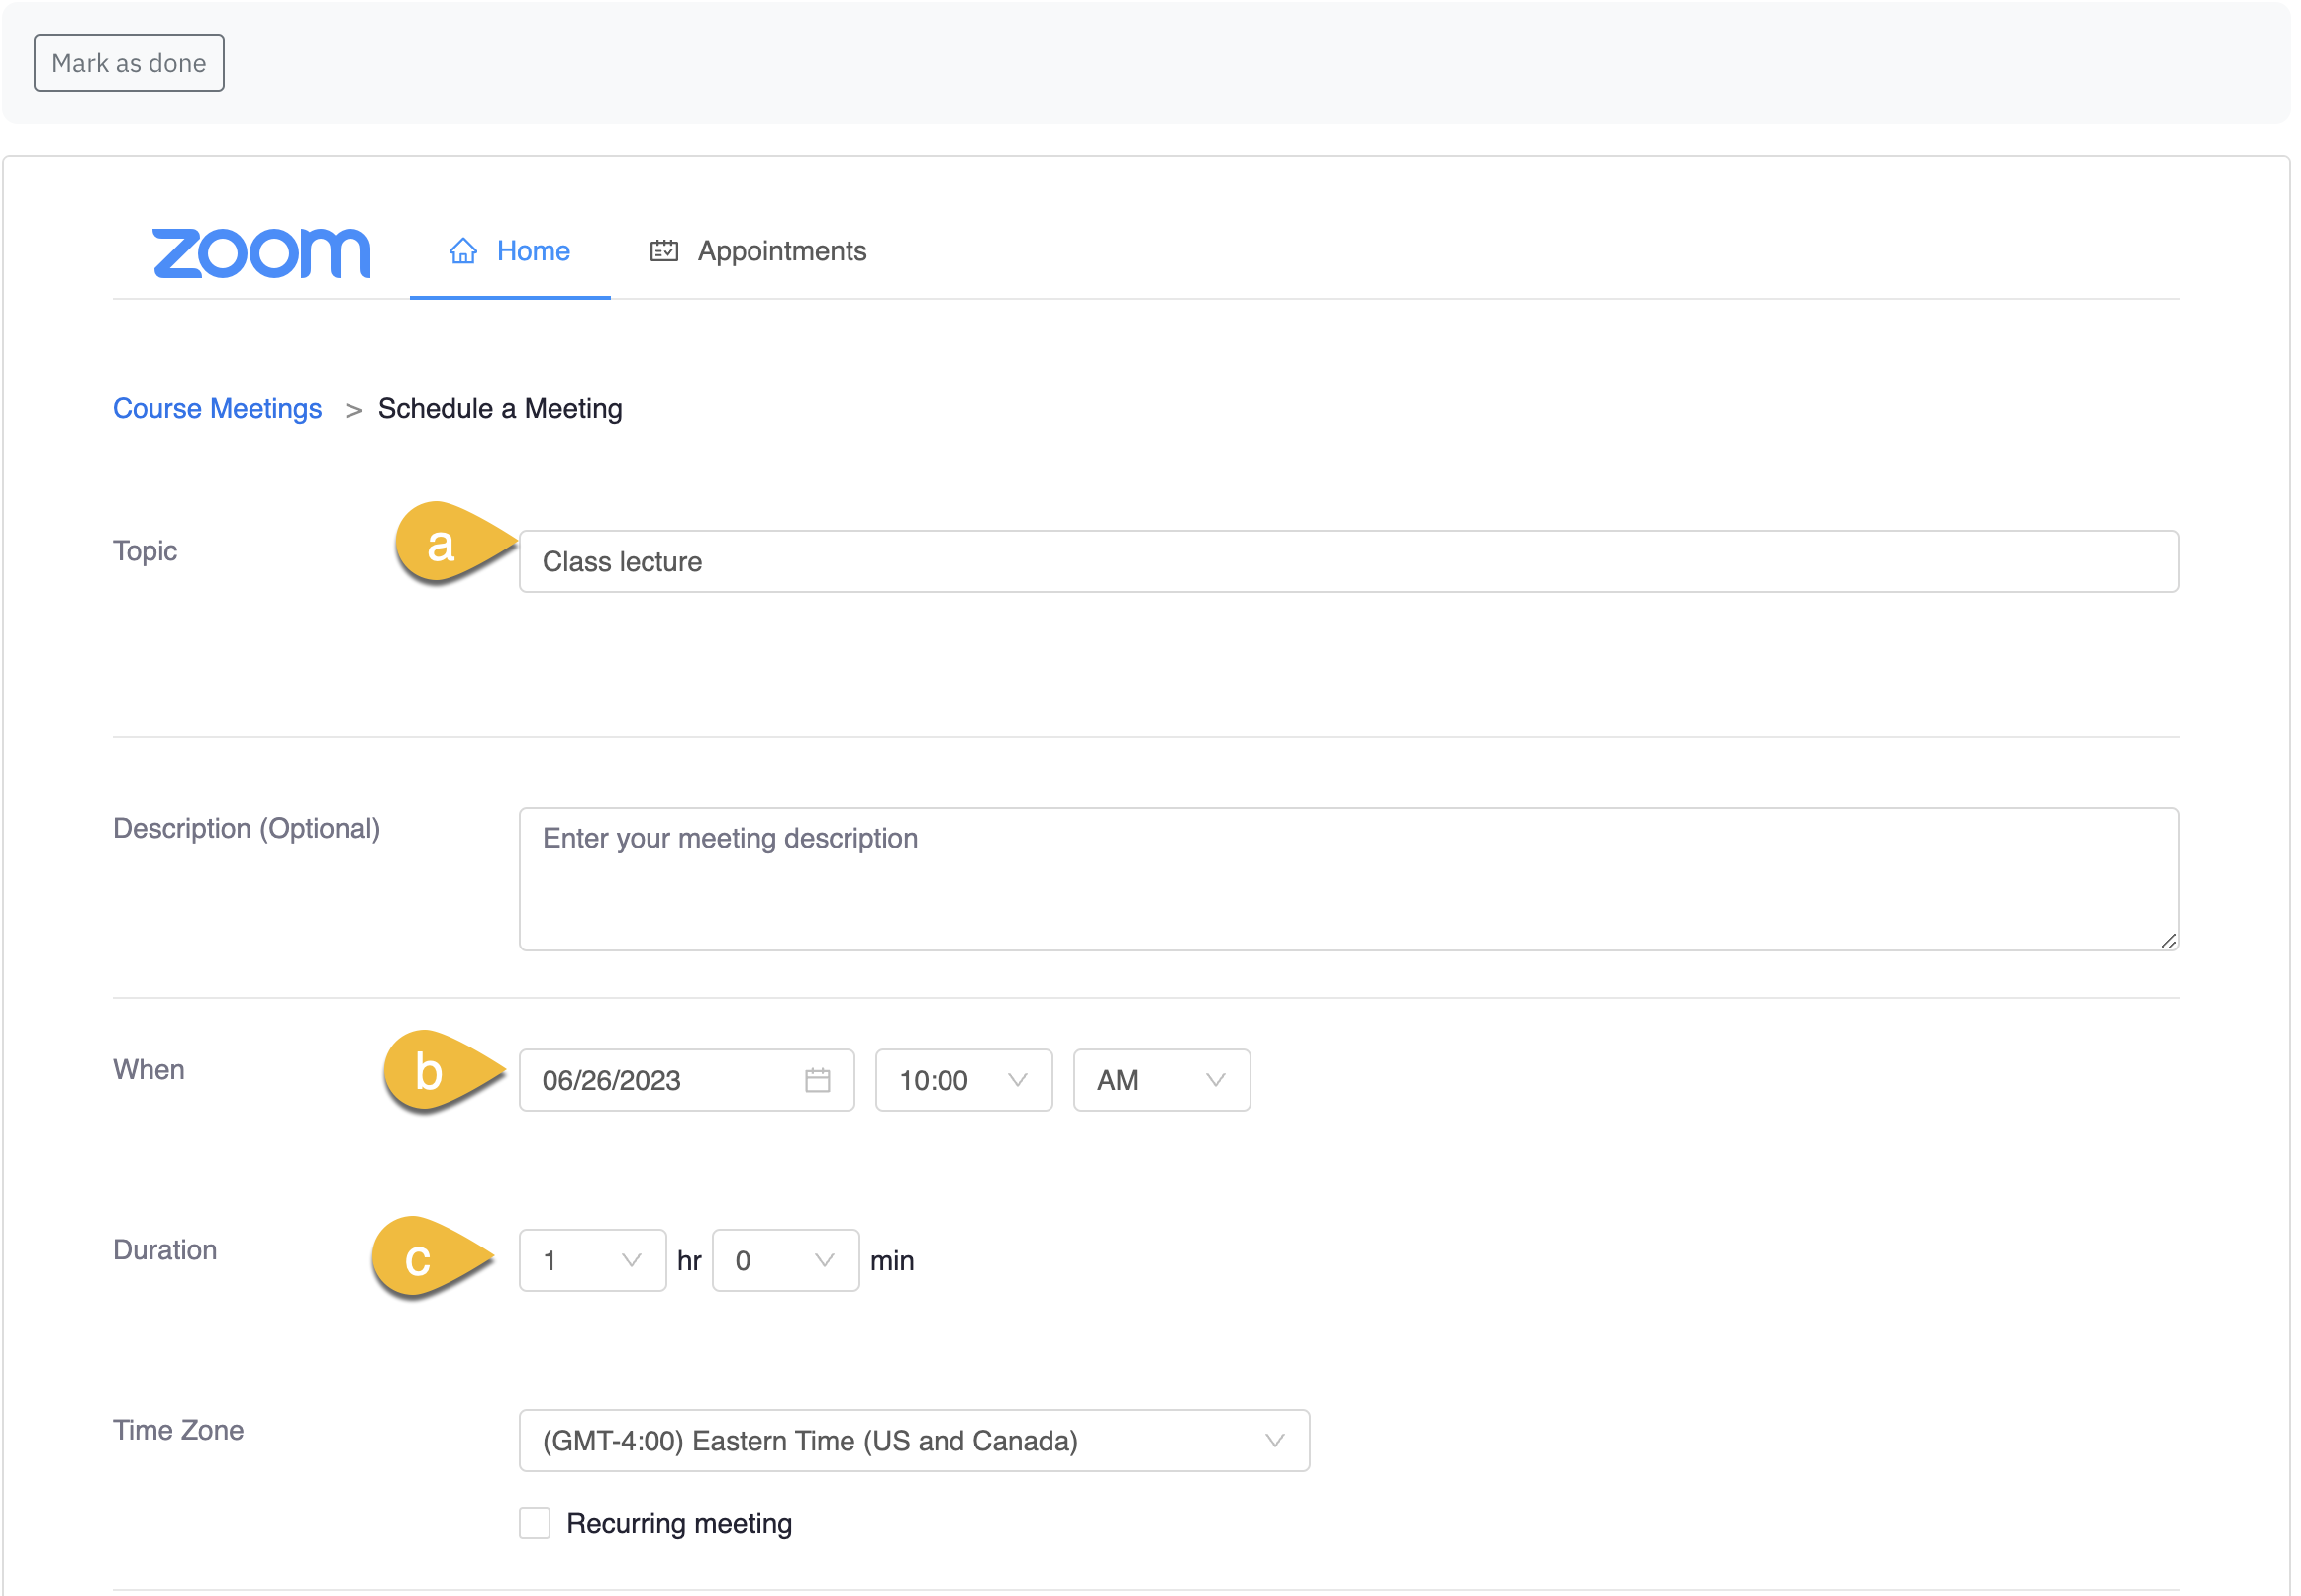
7. Scroll down and click Save. The zoom link will be on your course homepage.
Zoom bombing. What is it and how can I prevent it?
If you haven't heard of zoom bombing, it's a trend where random people are crashing online zoom meetings. Have a read of this article for more details.
Zoom have released some recommended settings and suggestions on how to prevent this from happening such as setting some options ahead of time, enabling the waiting rooms in the meeting settings, etc. They also make some great recommendations around meeting management once in the meeting.
Passcode is enabled by default. To change the password, click the pencil icon. You can select to highlight the current password and press delete key on your keyboard. Enter a new password and press enter key. If you do not wish to use a password, you can delete the current password and leave the box empty. To view the password, click on the 'eye' on the right.
Enable waiting room - This allows you to control when a participant will join the meeting. Until such time, your participants are put in a waiting room outside the meeting. This feature is useful if you are setting up an office hour for one on one discussions with your students. You can admit your participants one by one or all at once, if you chose so.
Only authenticated users can join - It is highly recommended that you use this as an added security measure. There are two options to select from - Any Zoom account and Passport York. Use Passport York if your participants are York affiliates, staff or instructors, otherwise use Any Zoom account.
7. Audio/Video option allows you to select default audio/video settings for the host as well as participants.
- Video - Choose whether you want to disable/enable video for your Host and Participant
- Audio - Choose whether to allow users to call in via Telephone only, Computer Audio (VOIP) only , Computer (VOIP) and Telephone Audio (both).
Some other options to consider
Enable join before host - It allows participants to join before the host. If you do not select this option, your participants will see a dialog box that says "The meeting is waiting for the host to join.". If you are the host, and have not authenticated using PPY, there will be a login button for you to login and start the meeting as the host. Be sure to log in with SSO.
Mute participants upon entry - This option is enabled by default and mutes your participants microphone by default. Your participants can unmute at any time during the meeting, unless restricted using other security settings.
Record the meeting automatically - This will allow you to record your meeting in the cloud or locally on your computer. Meetings recorded in the cloud can be accessed within the activity as well as at York's Zoom portal.
Alternative Hosts (Under Advanced Options)- If you wish to designate an alternate host or a co-host who can start the meeting in your absence, enter their York email address in this field.
The scheduled Zoom meetings will now appear in the section where it was added. Both you and your students can click on the Zoom activity to join the meeting.