What is Zoom Registration?
Scheduling a meeting that requires Registration will require participants to register with their e-mail, name, and other optional questions, allowing you to capture more information about your attendees. Once this is scheduled, you can manage your registrants, resend confirmation emails, and can also generate meeting registration reports, if you want to download a list of people that registered.
How to enable Zoom Registration for your Zoom meeting
- Sign in to the Zoom web portal at https://yorku.zoom.us/
- In the navigation menu, click Meetings.
- Click Schedule a Meeting or edit an existing meeting by clicking on it.
- In the Registration section, make sure to select the Required check box.
- After scheduling the meeting, the Registration and Branding tabs will appear at the bottom of your meeting options, as you can see on the screenshot below.
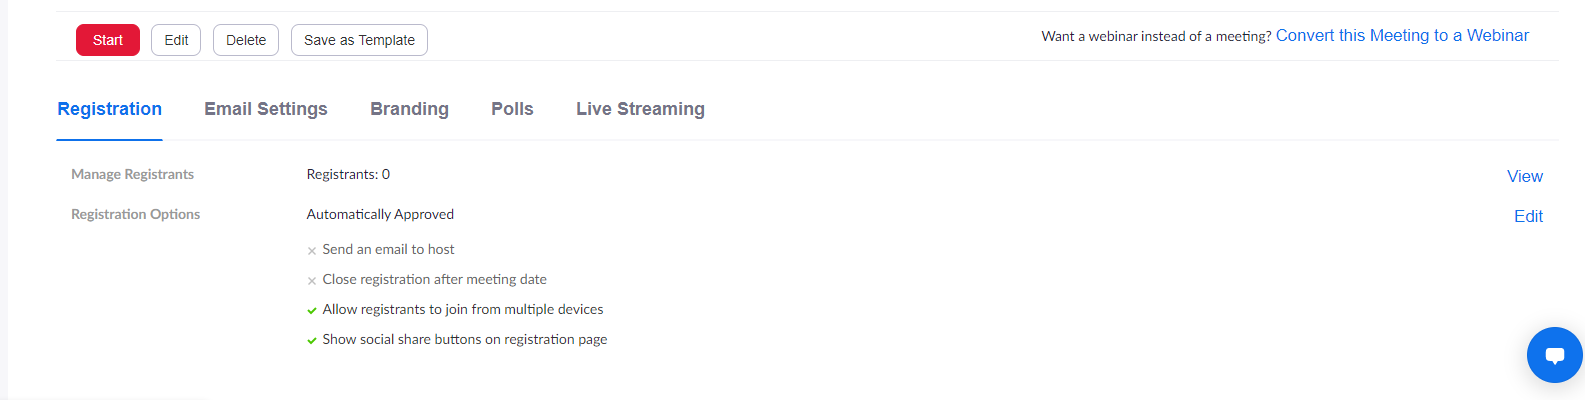
Registration tab
- Manage Registrants: Click View in front of Manage Registrants to see a list of people that have registered for the meeting. Clicking on the registrant name will provide additional info about that person.
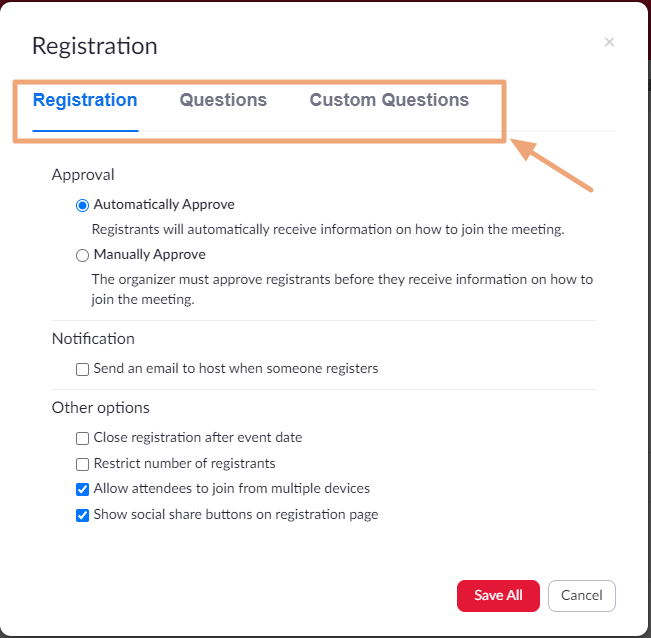
- Click Edit in front of Registration Options in order to manage and modify Registration Options, add/remove questions, or even create custom questions, as you can see on the screenshot below.
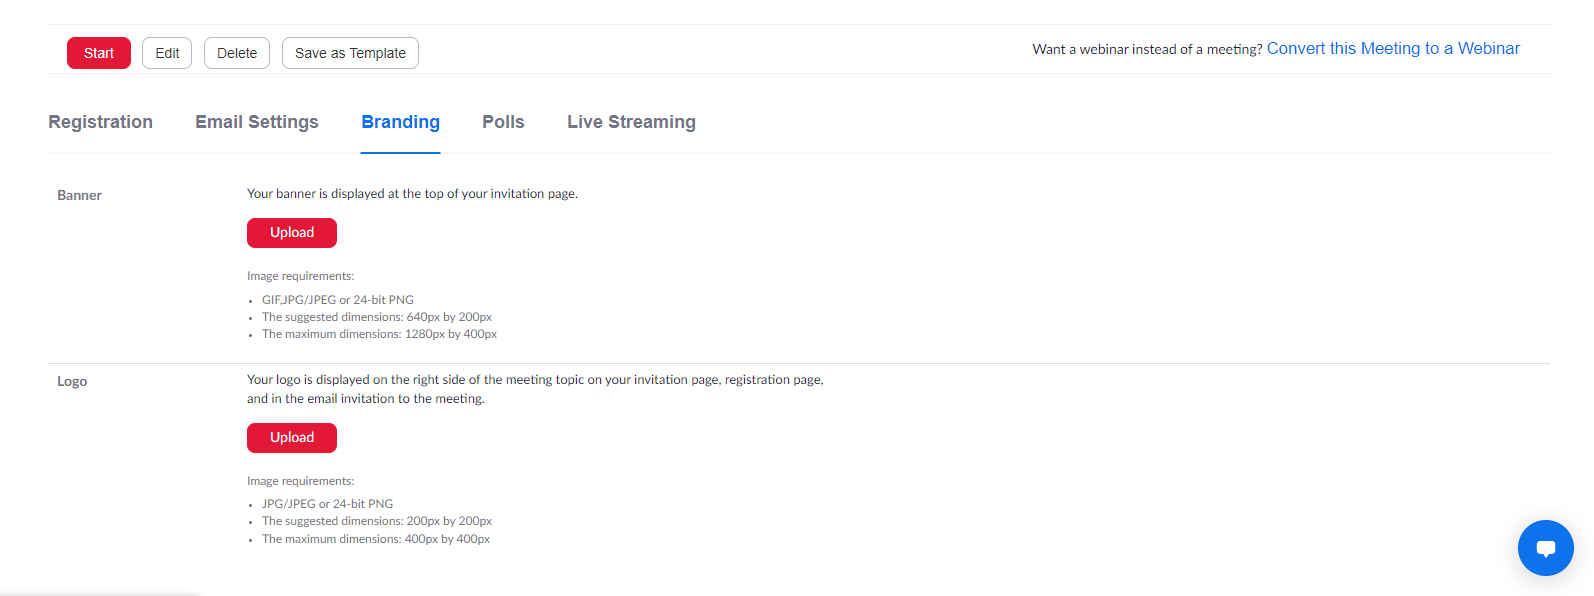
Branding tab
As you can see on the screenshot below, the Branding tab is straightforward. It allows you to add a Banner which will be displayed at the top of your invitation page, and allows you to add a Logo which will be displayed on the right side of the meeting topic on your invitation page, registration page, and in the email invitation to the meeting.