The Menu/Tab course format provides a gridlike, adjustable display of your course content.
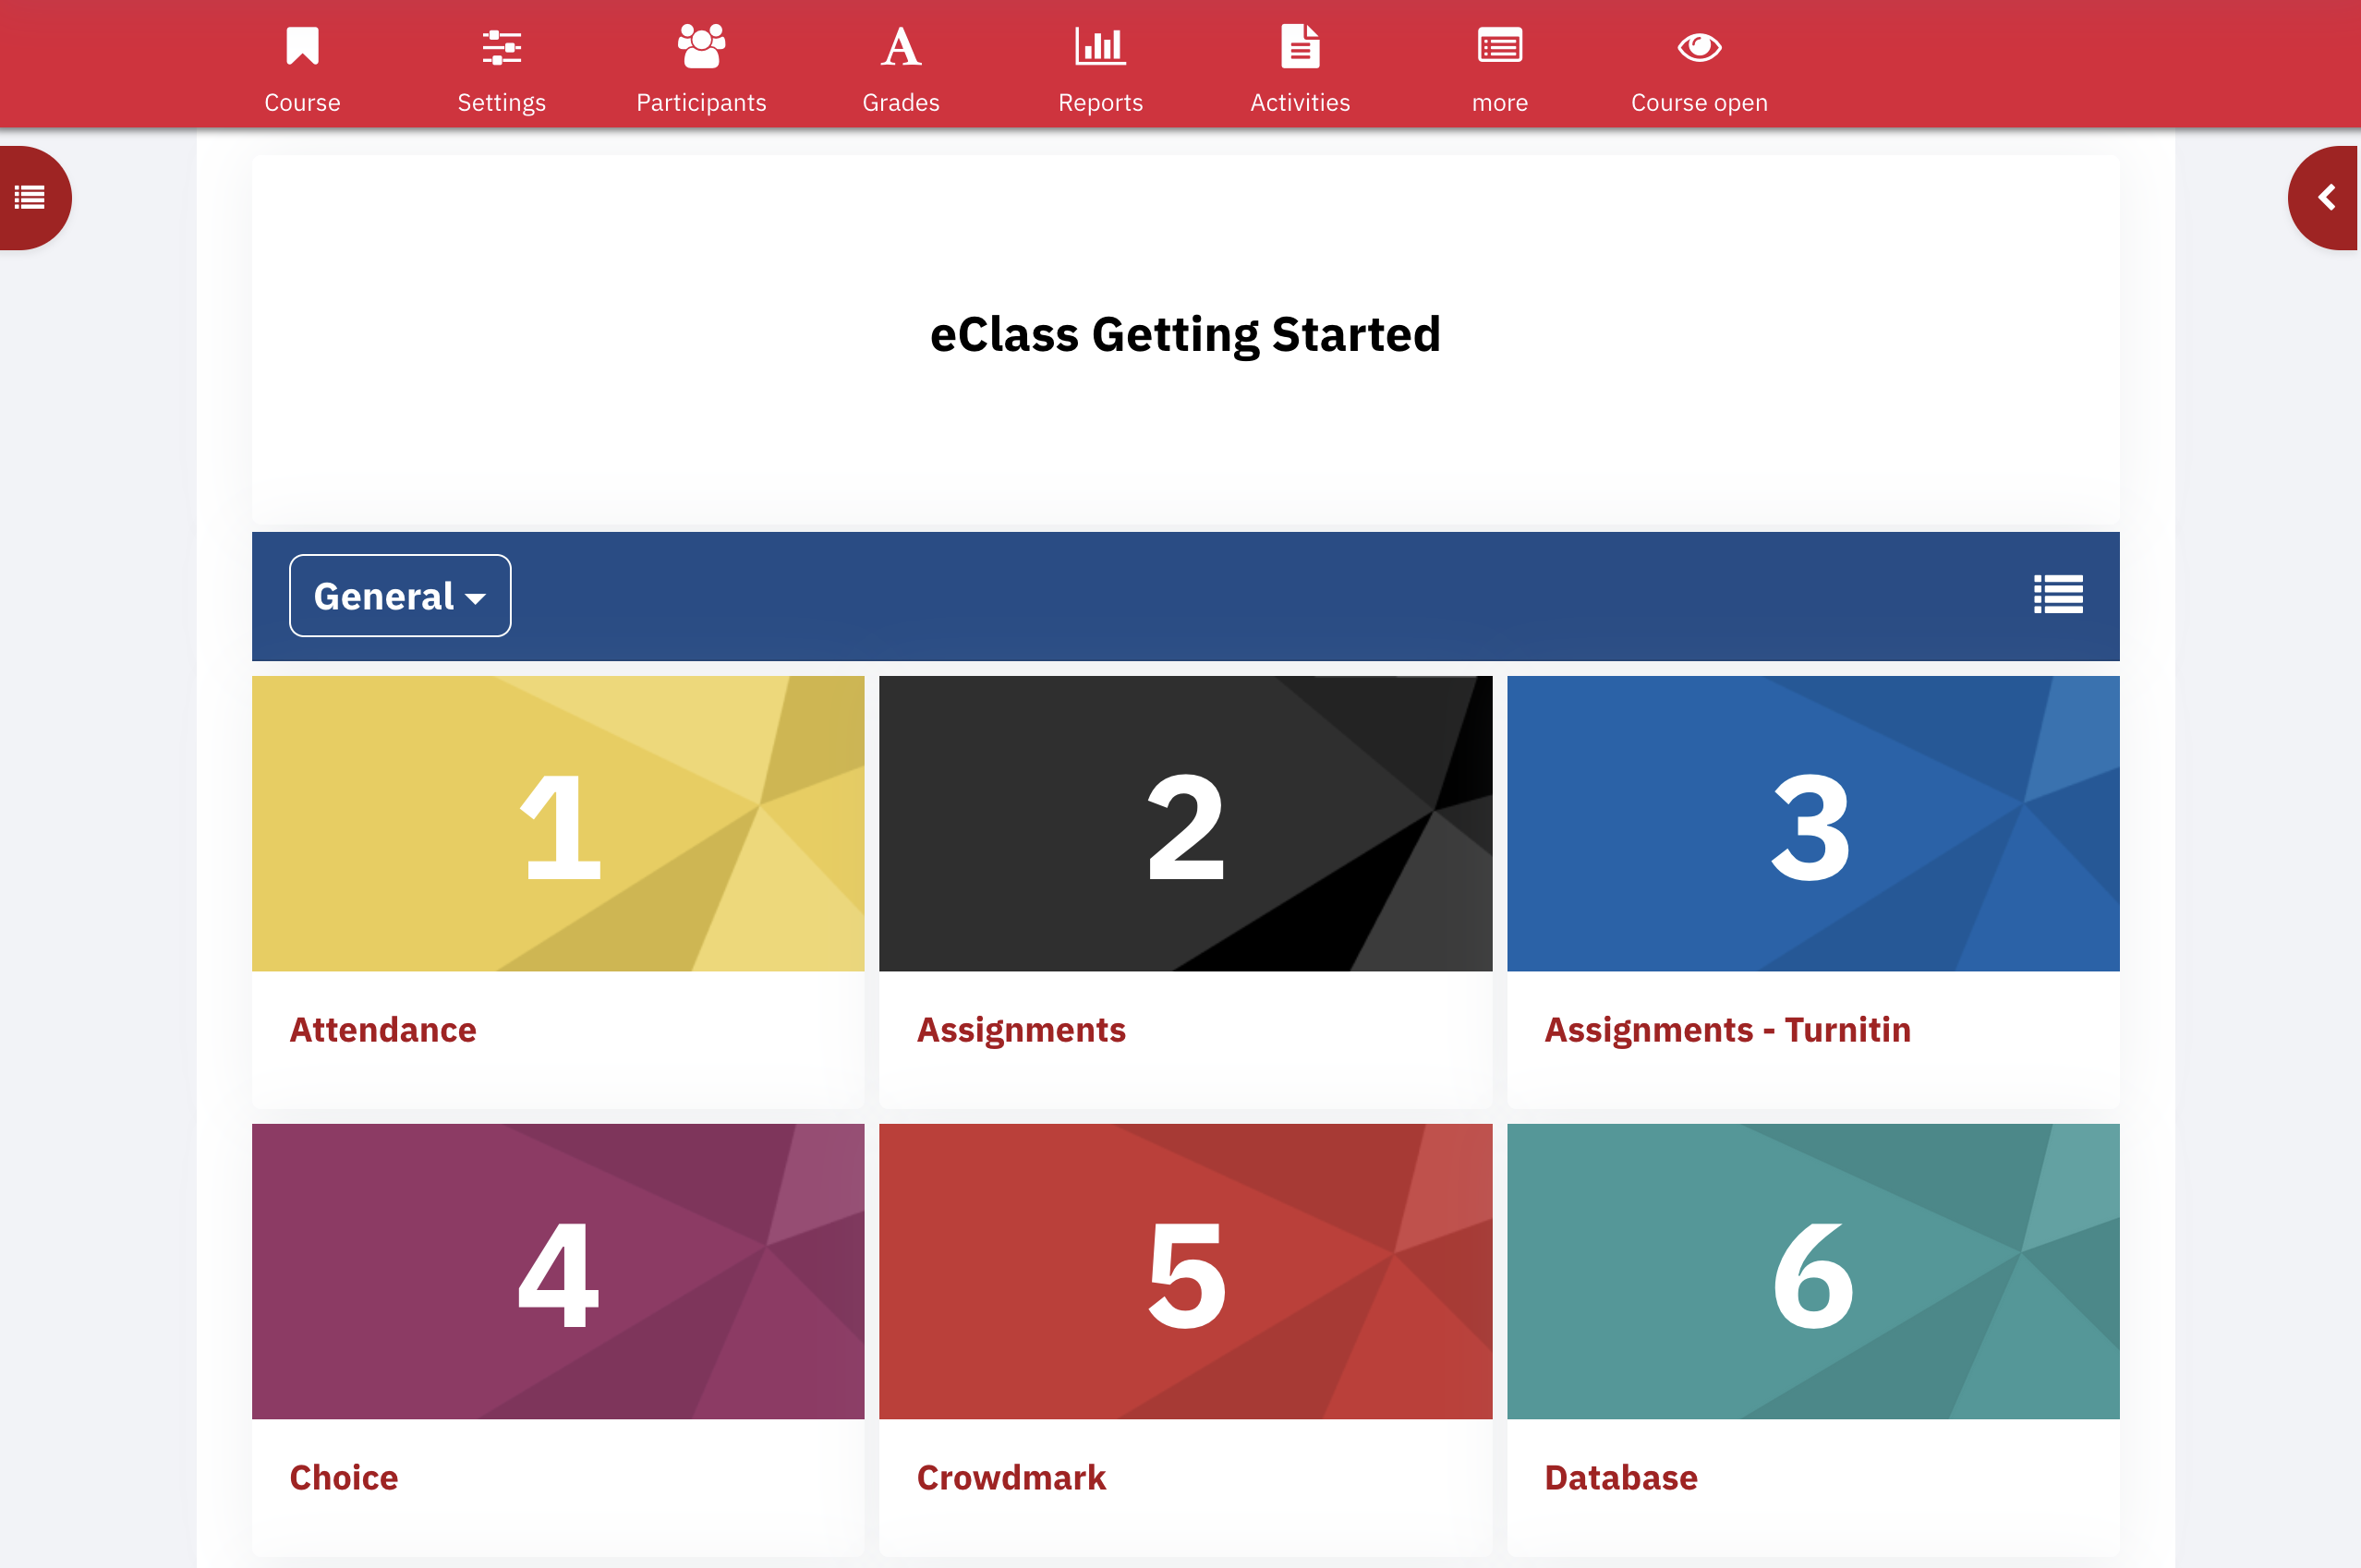
To enable Menu/Tab format in your course
- While on your main course page turn Edit mode on located in the upper right corner

- Click on Settings in the top row

- Scroll down to the Course format section and expand to view the options. Select Menu/Tab from the dropdown menu. Your browser will refresh and you will have options for the format.
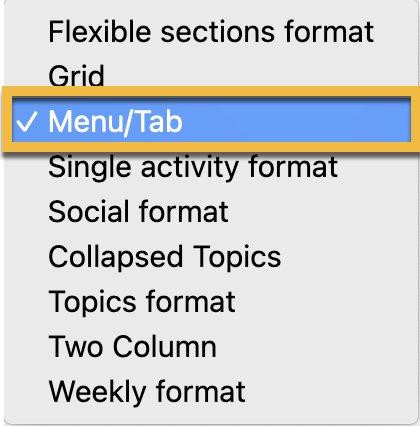
- Number of columns: Your current course Topics or Weeks will become grid items, this option allows you to select how many grid items, or columns, you want per row. The default is 3.
- Top section collapsed: Section 0 or General becomes accordion content. This option either has the content closed or open when you enter the course.
How to set up your course content to work with the Menu/Tab format
Turn Edit mode on
You will notice that when you enter your course there is no content available except the 'Start' accordion.

- Toggle the Edit mode button located in the top right corner.
- Add your course materials by clicking on one of the sections.
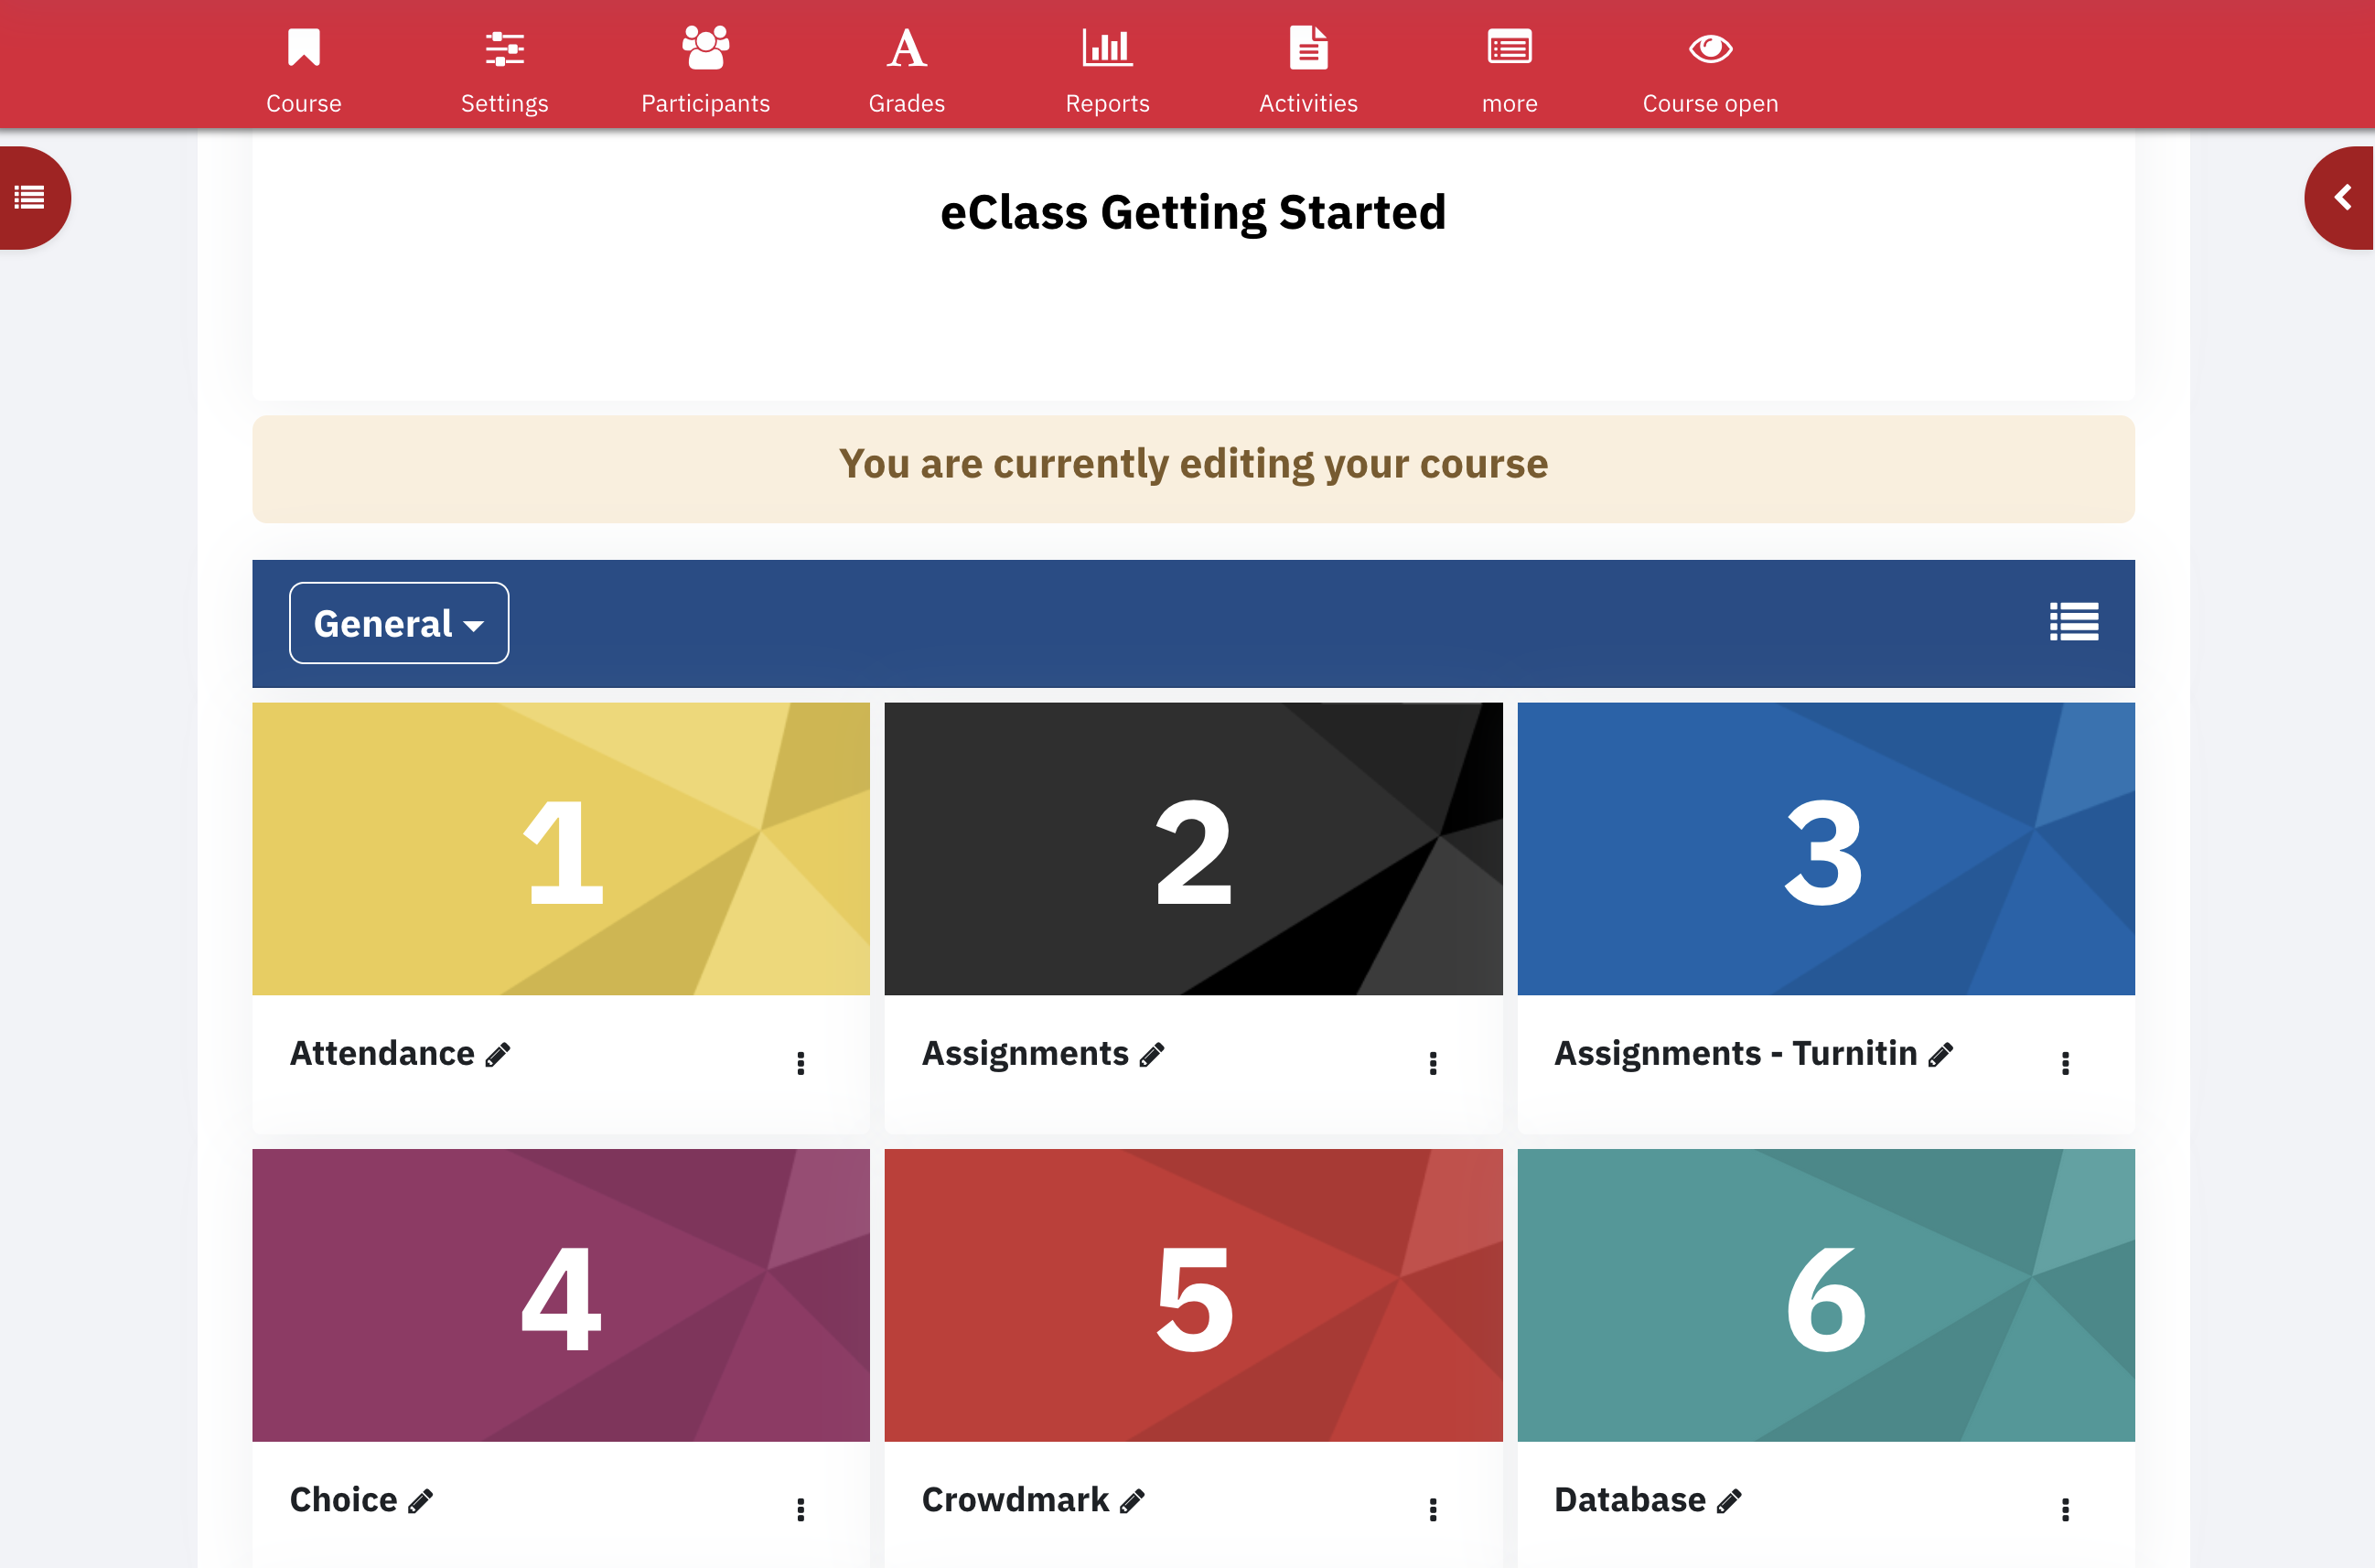
Edit section
You can edit your section to add a custom title, a description and an image. Only use one image as all other images will be ignored. Only the first image is used. Ideally, you want to make your images a minimum width of 400px.
- Ensure Edit mode is enabled
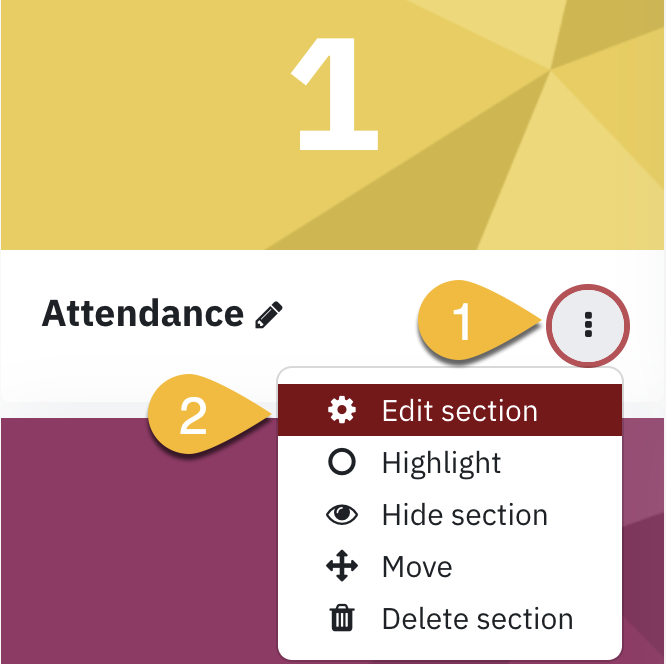
- For one of the sections click the vertical 3 dots (1)
- Select Edit section (2)
- You can change the section name, add a summary/description, insert an image.
- Scroll down and click Save changes.
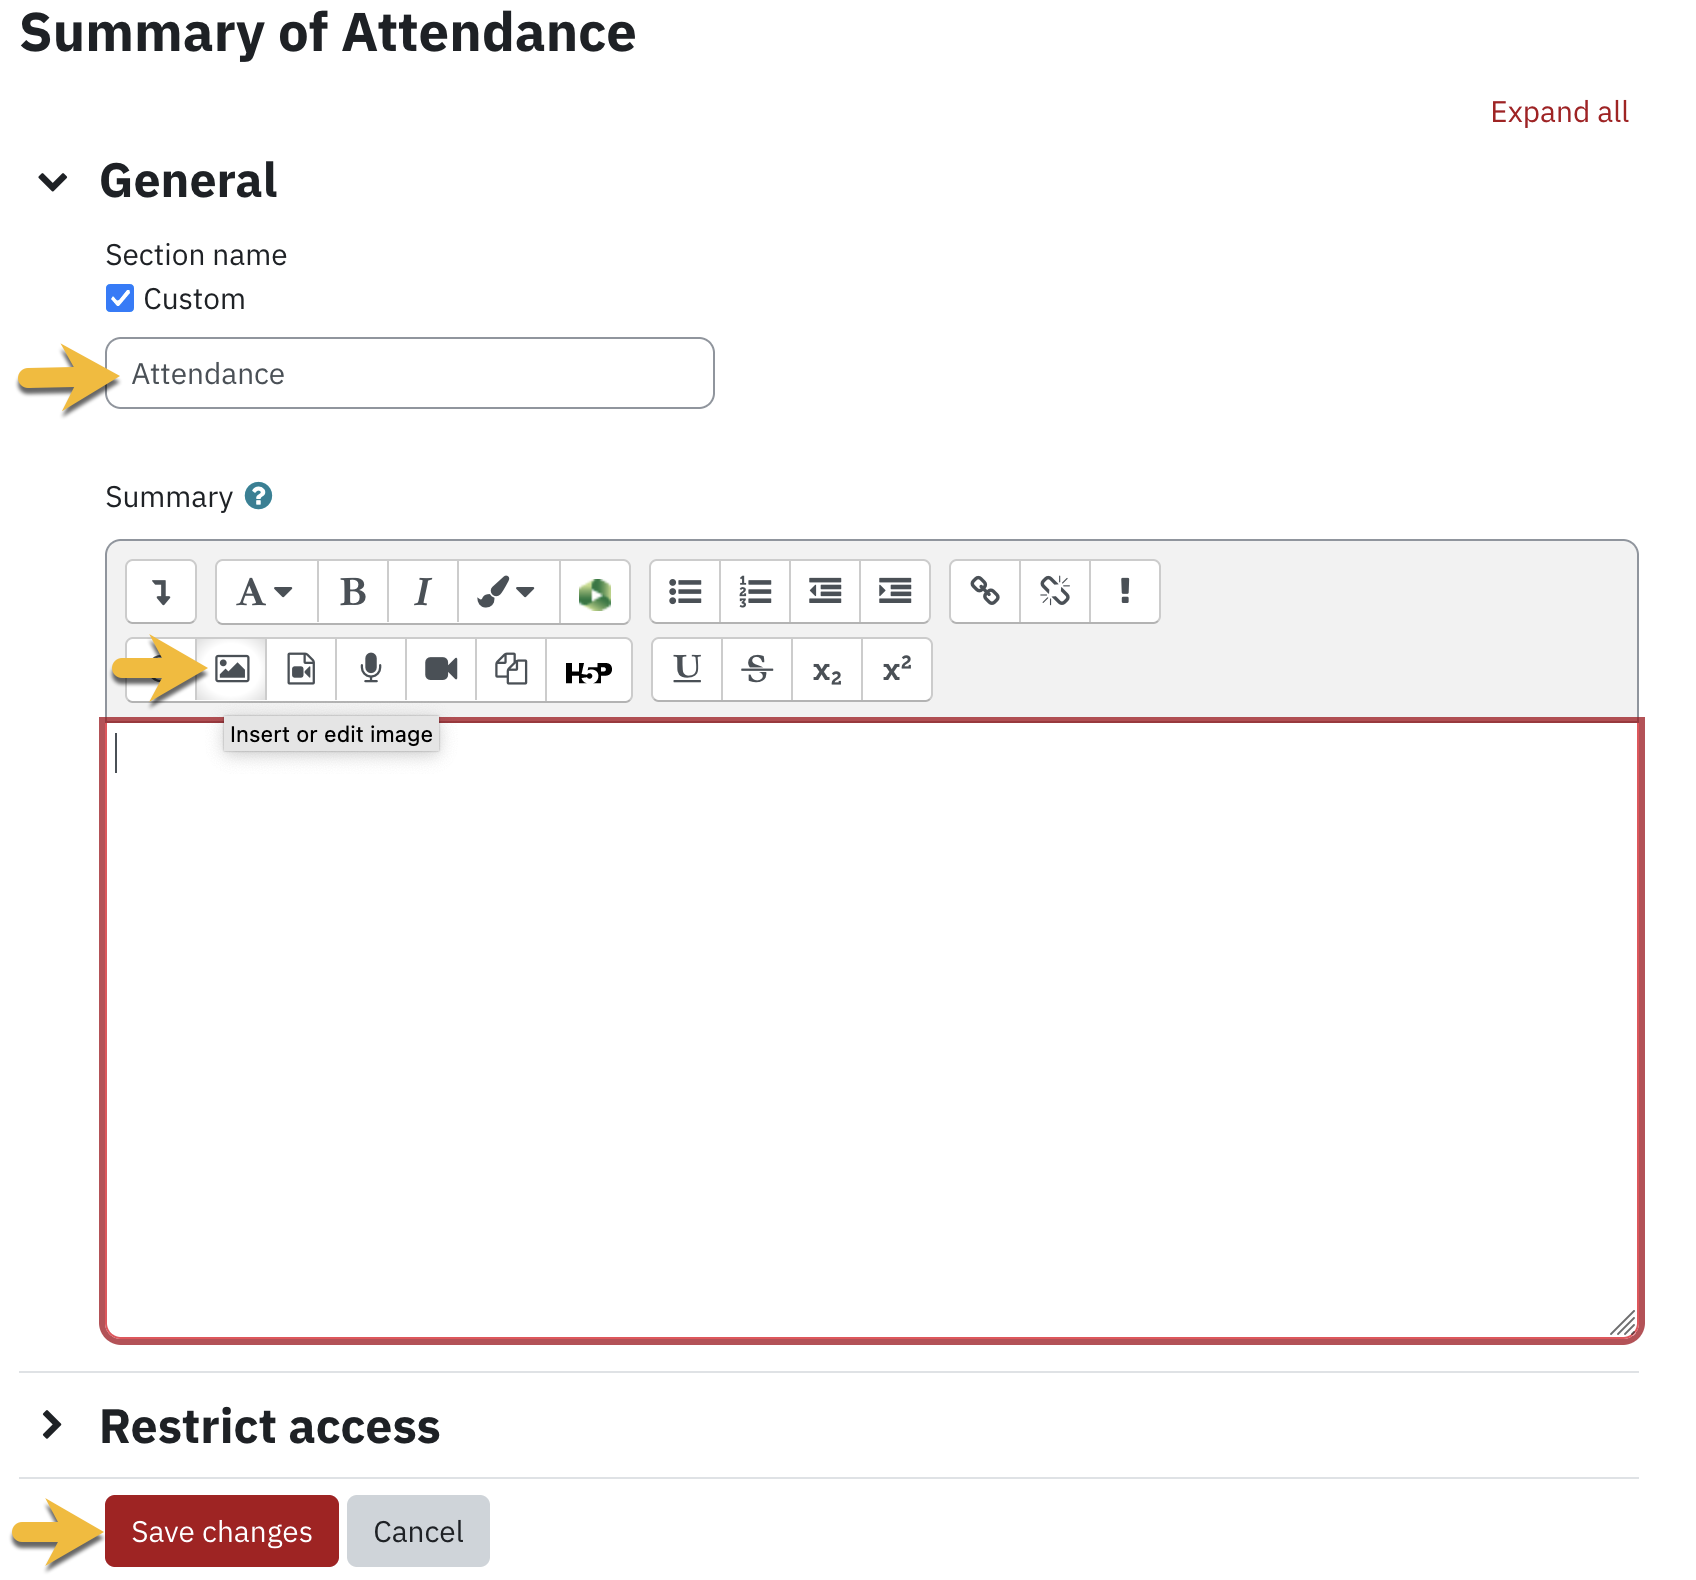
Adding content to the course
Once Edit mode is enabled, click on one of the sections, then proceed to add content to your course using these guidelines.
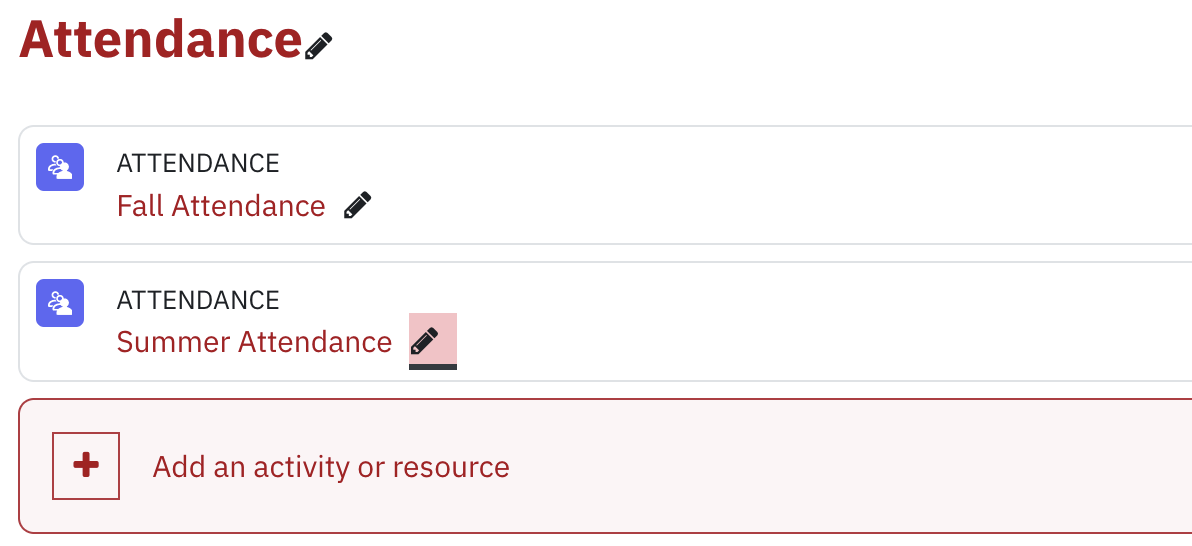
Once you disable Edit mode you will start to see your grids appear. Each box represents the Topic title.
Adding tabs to the menu/tab section
It is possible to have tabs under the sections such as these:
To accomplish this, you must use the label (text and media area) activity to trigger the tabs. You can organize content in the tabs afterwards by moving the content around.
Here's the video covering the topic in detail.
Adding tabs
- Select the section you want to add the tabs to
- Turn editing on

- Click on Add an activity or resource
- Add the Text and media area activity

- In the General area, give your tab a name:

- The editors available in eClass do not natively support Heading 2. You will need to enter the editor in source code mode and manually enter the <h2> </h2> tags.

- In the TinyMCE editor, the Source code is located under Tools

- In the Atto editor, expand the menu (1) and then select HTML (2)

- In the TinyMCE editor, the Source code is located under Tools
- Add the activities you wish under the text and media area (label). You can repeat this process for more tabs, organizing your content by placing activities under the labels:
