How to access Course Settings
From the course homepage, click Settings in the course banner.
 Below are some of the options you'll find on the setup page - press on Expand all on the top right of the settings page to show all the options. You may use Ctrl+F or Command+F to search for the keywords on the page.
Course short name
The Course short name is used as a prefix to the subject of forum e-mail notifications. You can edit this if you wish.
Make your course available to students
Upon creation, your course is not visible to students, allowing you the opportunity to work on your course behind closed doors, as it were. To make it visible set the Course visibility to Show.

Course Image
Use the Course Image section to either drag and drop your course image into the dotted area or use the Add... to browse and upload it from your local computer.

Course Format
- Select your preferred course layout from the Format drop-down list. (See Setting up your Course layout to see popular layout options).
- Select the appropriate option from the Hidden sections drop-down list. The options affect how the sections on the main course page behave when set to hidden. These options affect the student view only. Instructors will see the hidden section as well as the content in those sections.
- Hide completely will hide the section from students completely.
- Show section names only will display only the section title or week date. Course resources and activities contained in the section will be hidden from student view.
- Select whether the entire course is displayed on one page or split over several pages (one topic section per page) by selecting the applicable option from the Course Layout drop-down list.

Appearance
- Leave the Force theme option to Do not force unless you prefer a theme other than the default. Select an alternate theme from the drop-down list as required.
- Leave the Force language option to Do not force unless you prefer a language other than the default, English. Select an alternate language from the drop-down list as required.
- Select the preferred number of announcement items to display in the Latest Announcement block (on the course home page) from the Number of announcements drop-down list.
- Leave the Show gradebook to students field as default (Yes) to display grades of activities to students.
- Leave the Show activity reports field as default (Yes) to allow students to view the listings of their contributions, such as forum posts or assignment submissions and activity logs. When enabled, students will only see a report of their own activities.
- Leave the Show activity dates field as default (No). Activity dates are always shown on the activity page. This setting determines whether activity dates are also shown below each activity on the course main page.

Files and Uploads
If required, select an alternate file upload size from the Maximum upload size drop-down list. The default is 2G B, which is also the recommended file limit.

Activity modules also include a maximum upload size setting for further restricting the file size. This setting determines the maximum file size that can be uploaded to that activity.
Completion Tracking
Select your preferred completion tracking option form the Enable completion tracking drop-down list. Completion tracking allows resources and activities to be marked completed manually or when certain conditions have been met. Learn more about Completion Tracking
Select whether or not you wish to display the activity completion condition on the course page from Show activity completion conditions drop down.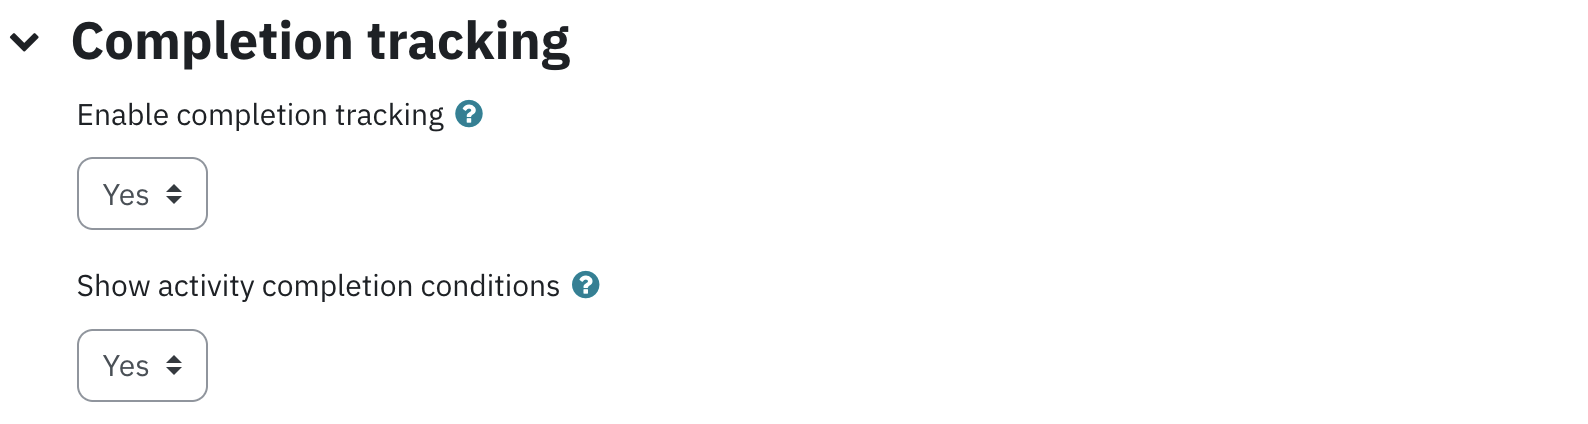
Groups
The Group mode setting at the course level dictates the default behaviour for all activities in your course. You may also set your group setting at an individual activity if you wish use a different group mode for the activity.
- None: No groups are set.
- Separate: Groups members cannot see or access the work of students in other groups.
- Visible: Everyone’s work is accessible by all, but only members of each group can edit or add new data within their own group activities.
We recommend leaving Force group mode setting to No. If set to yes, it will automatically apply the group mode selected at the course level for all course activities and resources, overriding the individual group settings for each activity.
AI tools
AI tools settings control whether or not the AI features are enabled for the course. By default this setting is turned off.
If you wish to take advantage of the AI tools in your course set the Allow AI tools for this course to Yes.
If Allow AI tools for this course is set to Yes:
Please note, Once AI tools are enabled at the course level, they will be enabled for activities in the course. As the instructor you will be able to configure the AI tools in each activity's setting.
